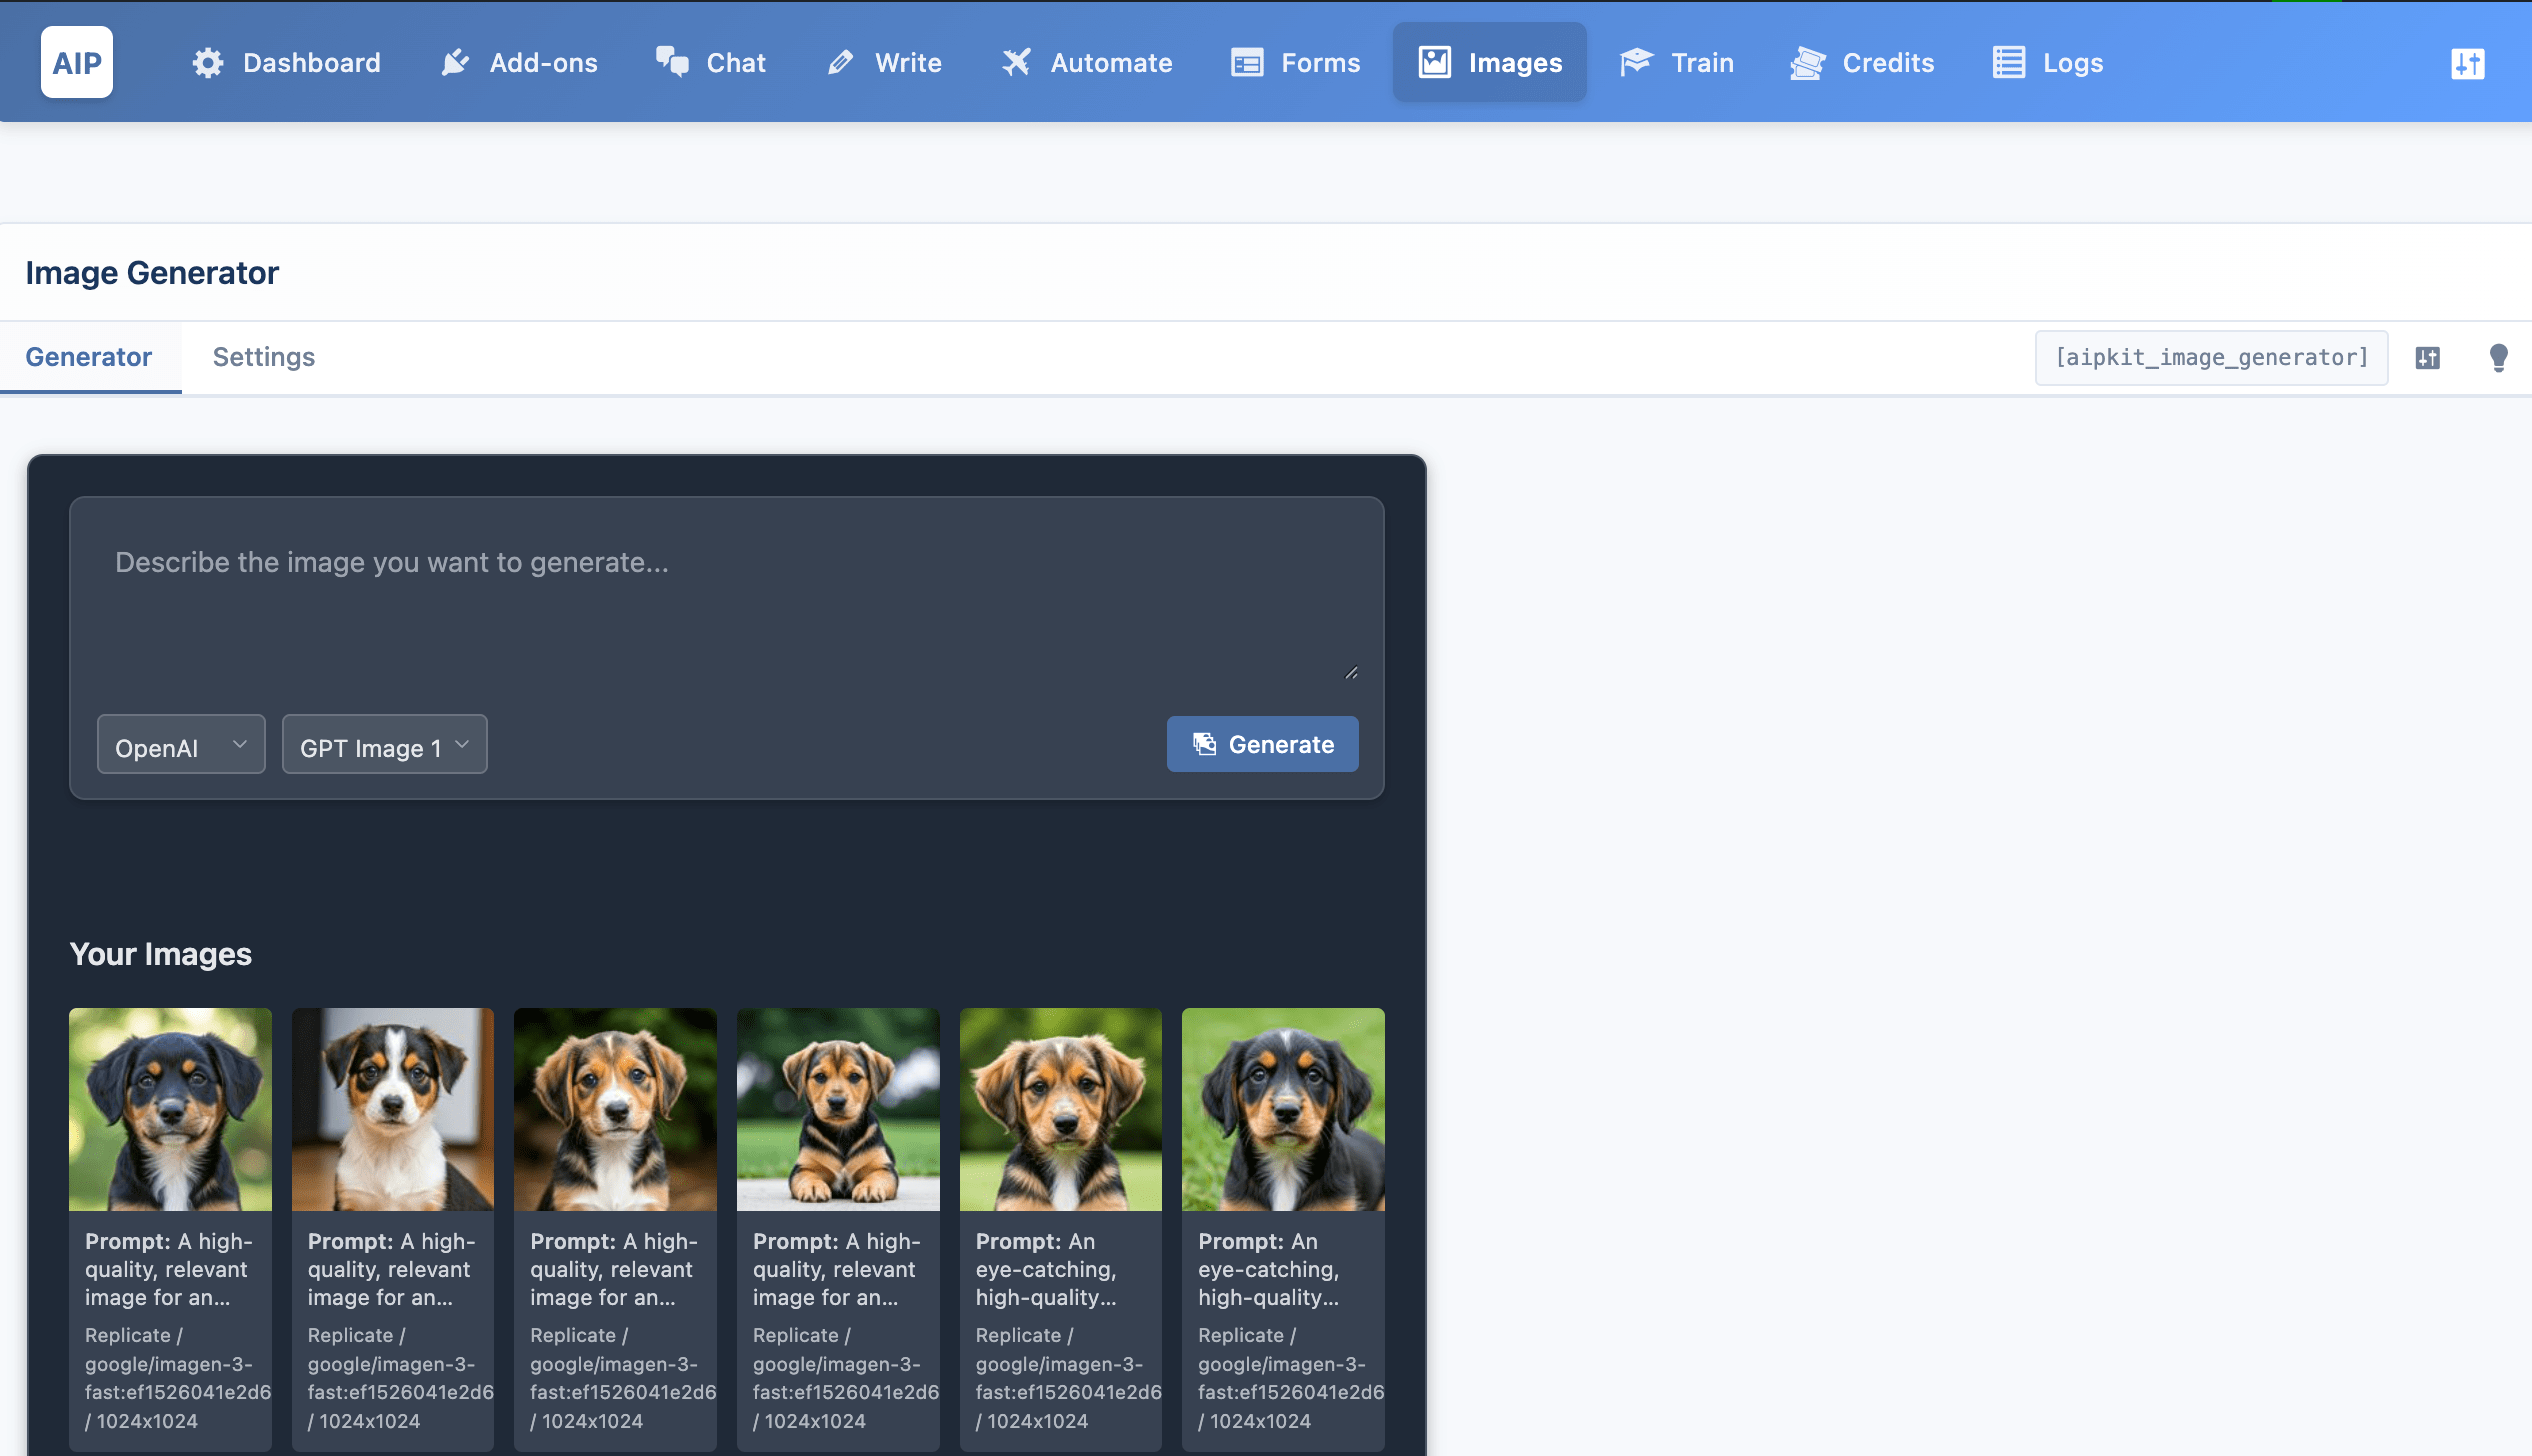
Image Generator

The Image Generator feature of our plugin is a powerful tool that allows you to generate images using advanced AI models such as DALL-E and Stable Diffusion πŸš€πŸš€πŸš€.

You can generate images from simple text prompts, adjust various settings to fine-tune your results, implement price handling, and monitor detailed logs.

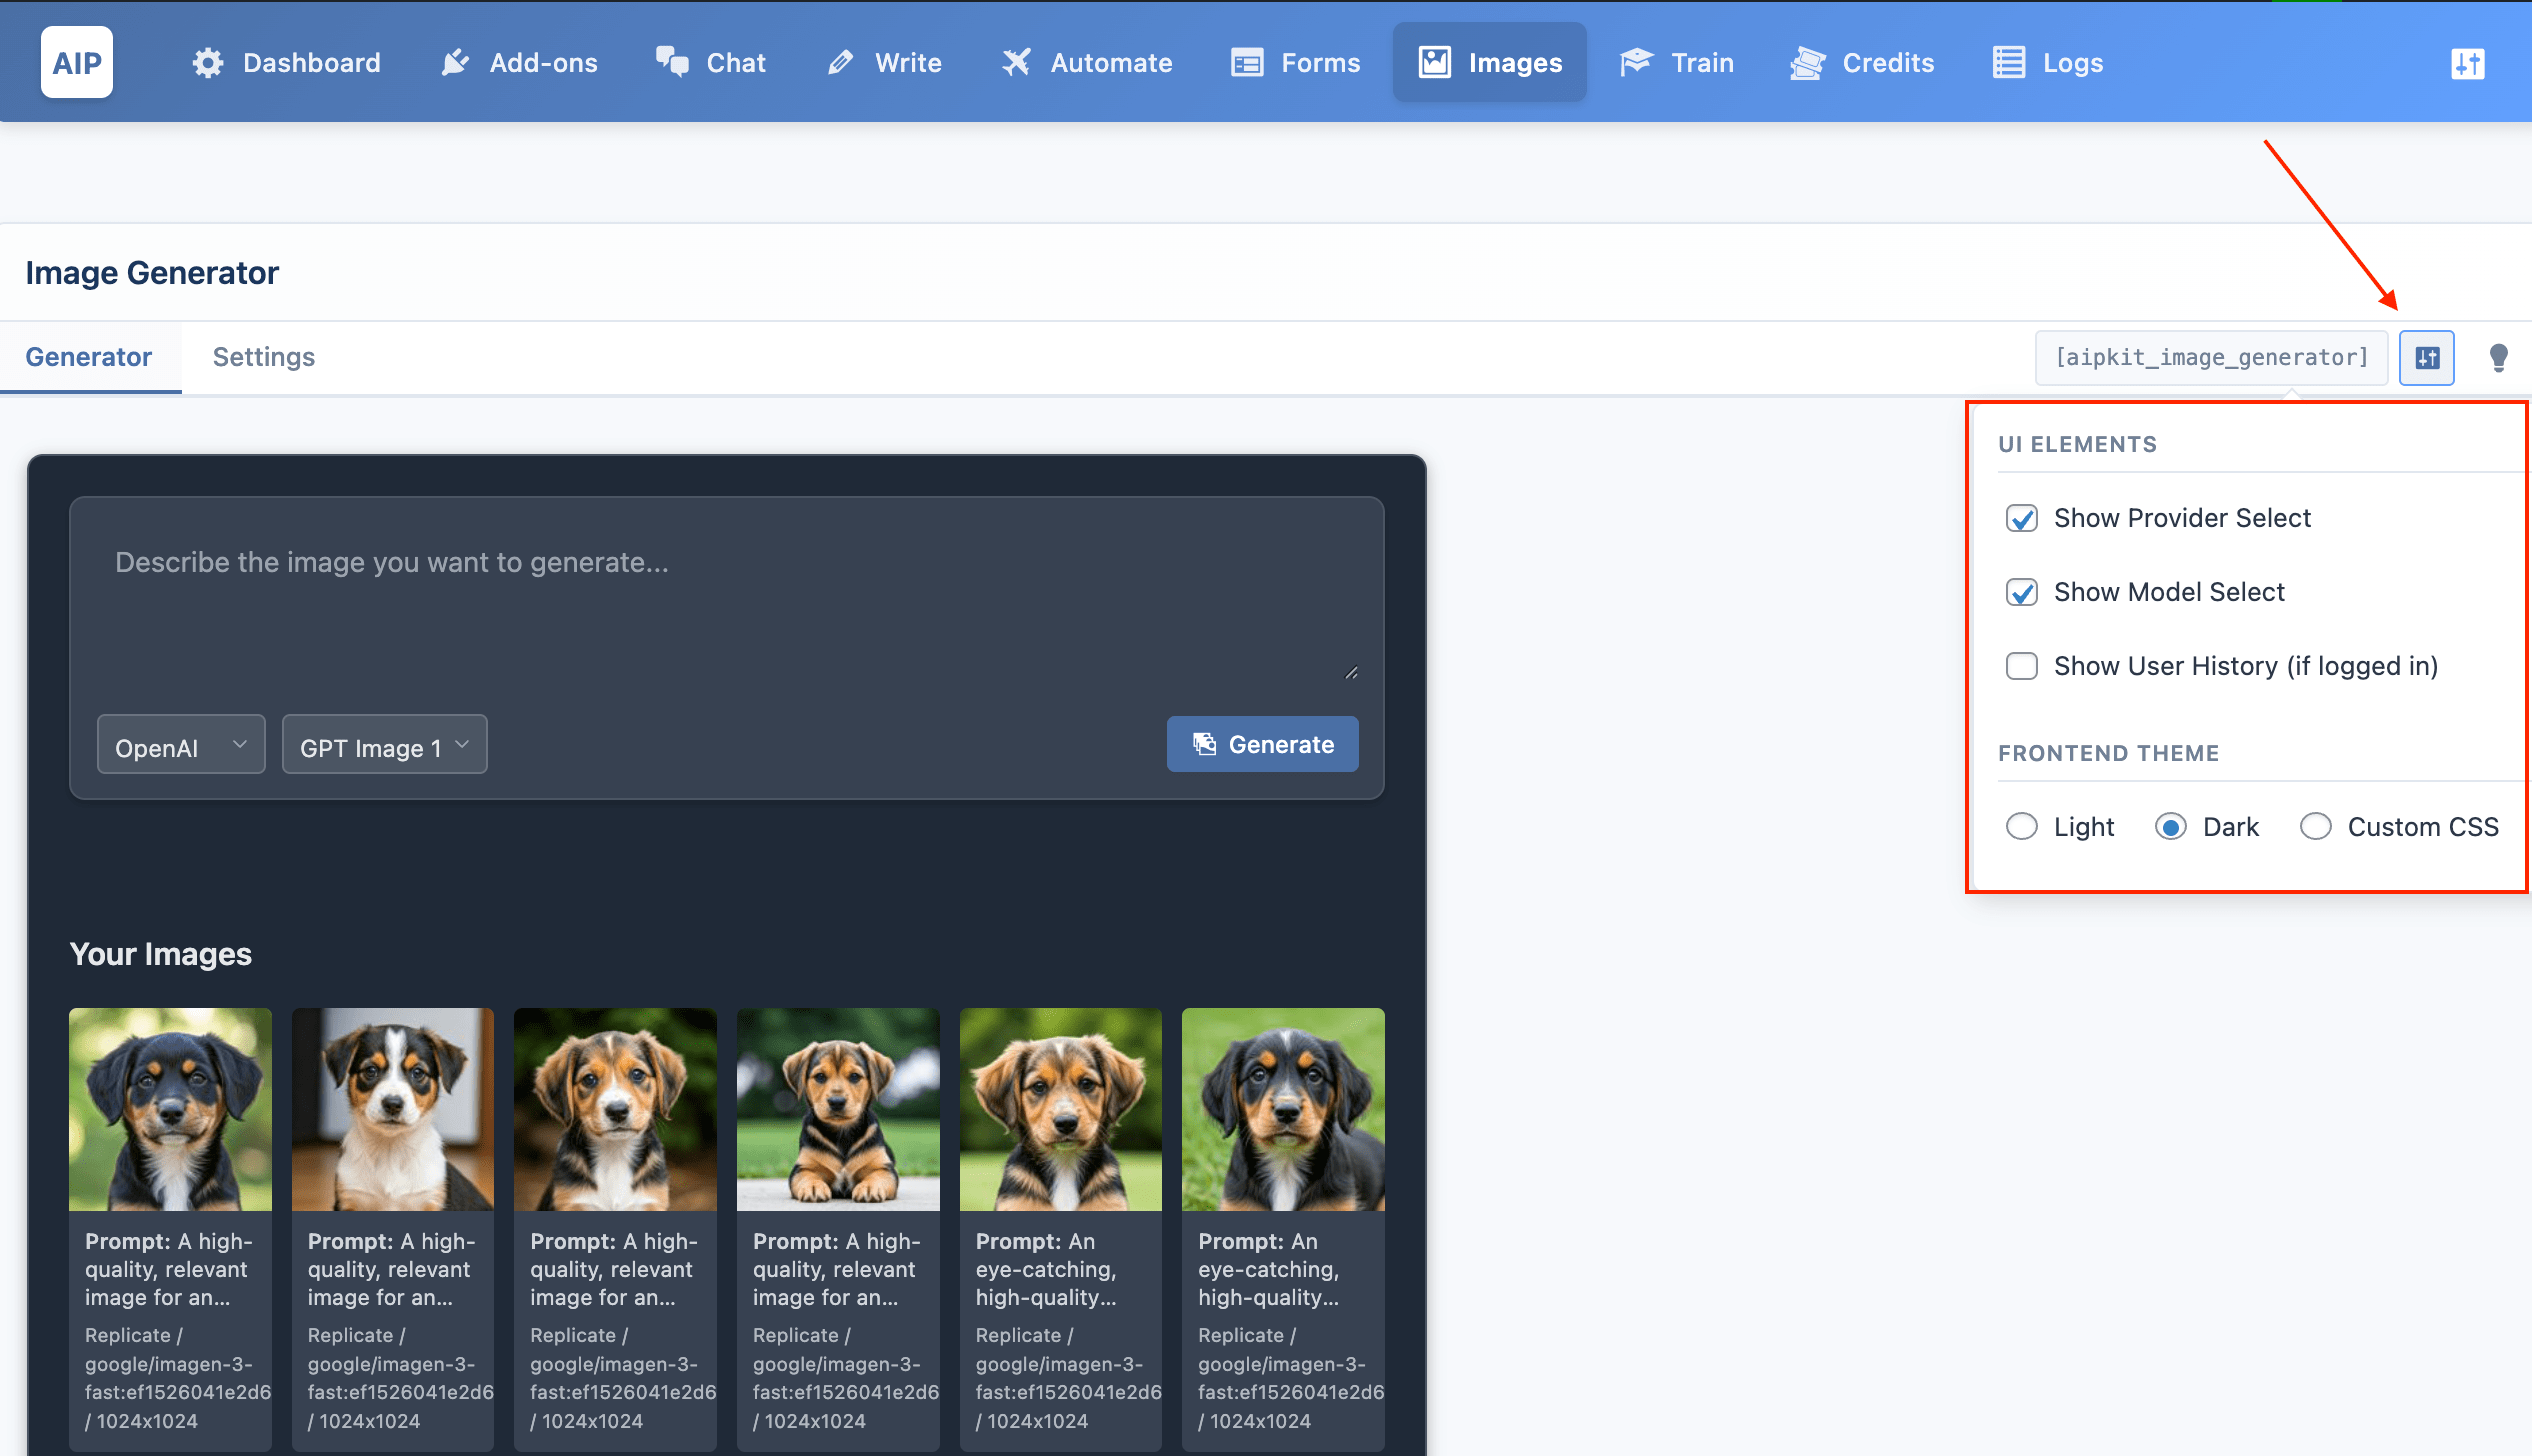
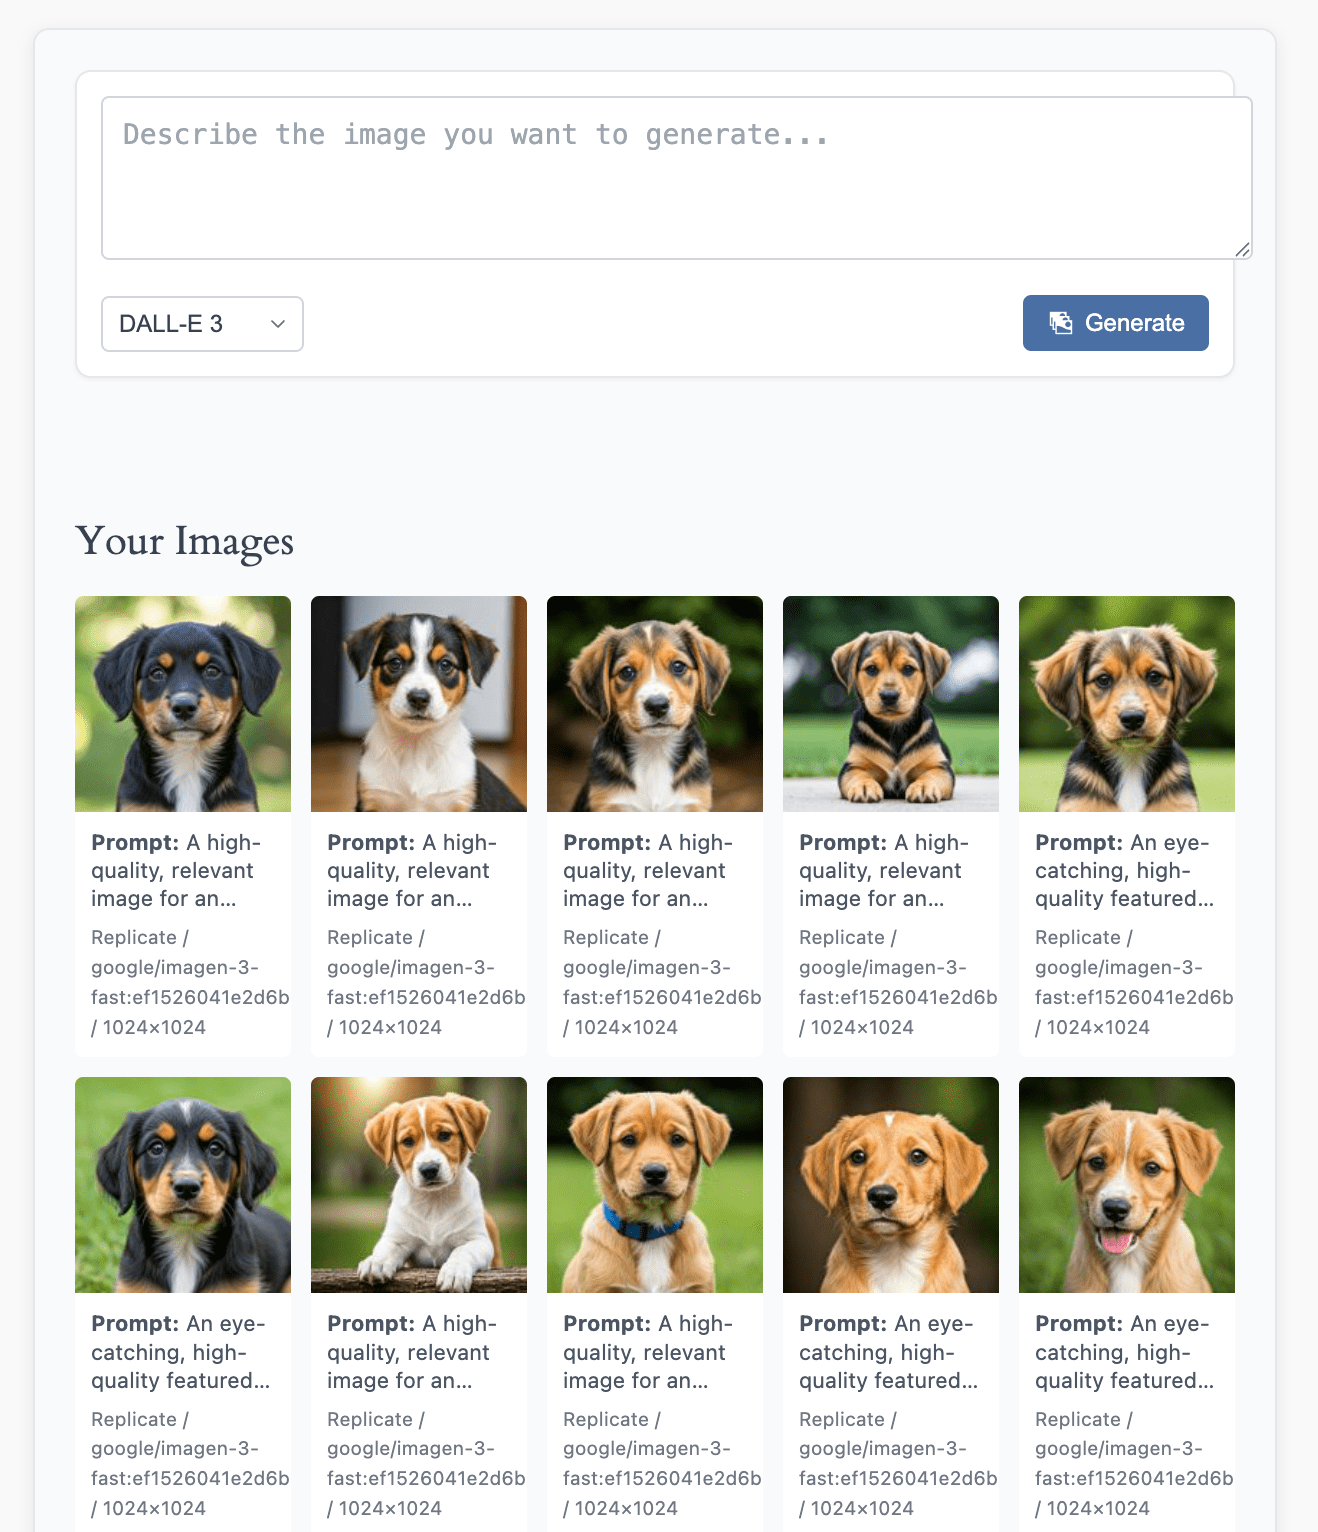
We've made this feature interactive for your users with shortcodes that can be embedded in your front-end.

Check out the demo here.

DALL-E​

DALL-E is a deep learning model developed by OpenAI to generate digital images from natural language descriptions, called "prompts".

You can generate images from simple text prompts by using Image Generator feature.

Check out the demo here.

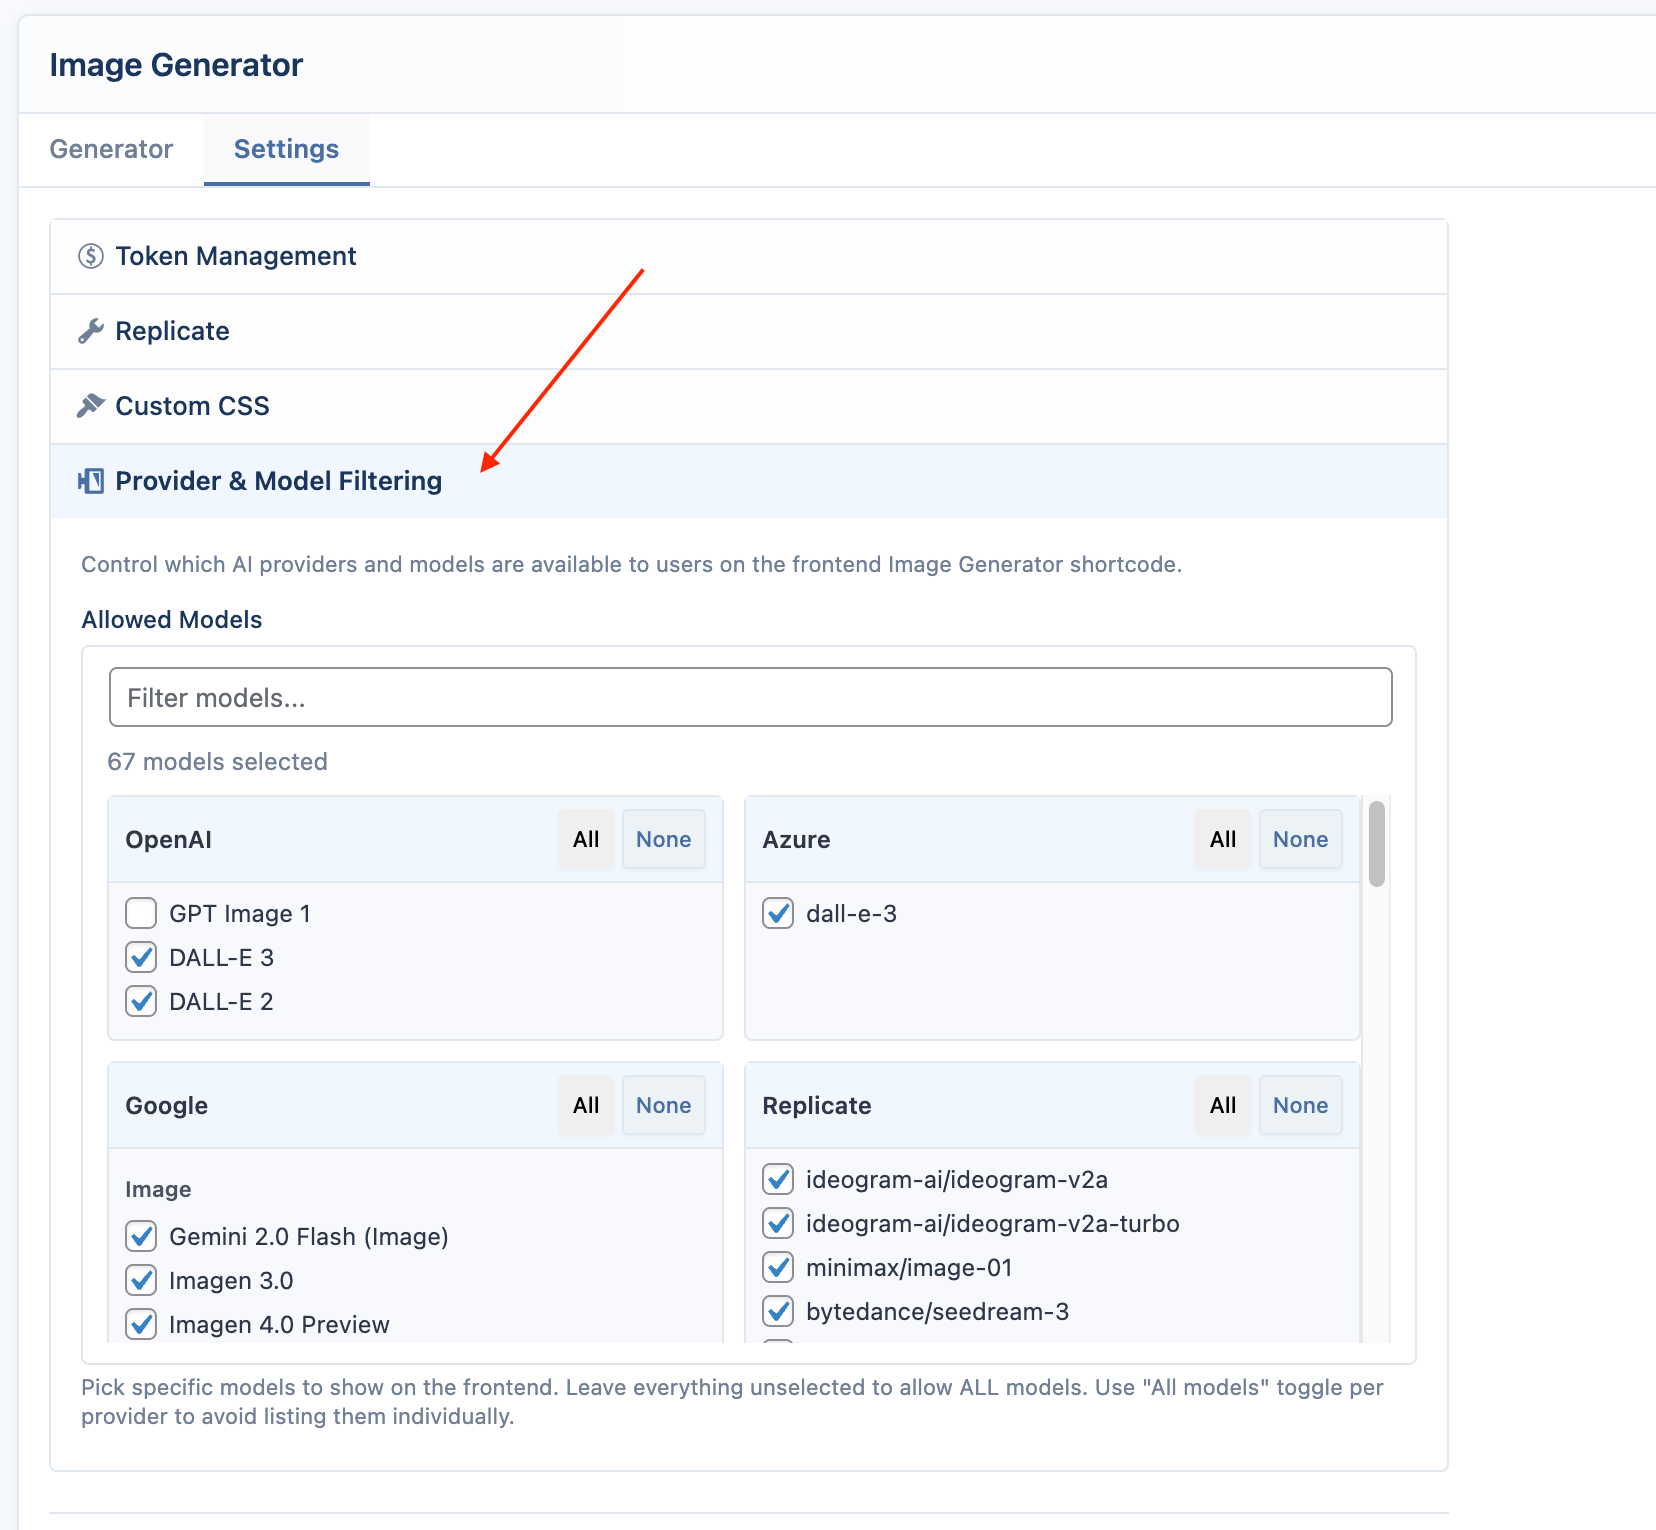
Our plugin supports three distinct DALL-E models provided by OpenAI, each with unique capabilities and image generation features.

DALL-E 3​

DALL-E 3 is the latest iteration of OpenAI's image generation models. It allows users to create images from scratch based on a text prompt.

  • Image Sizes: DALL-E 3 can generate images with resolutions of 1024x1024, 1024x1792, or 1792x1024 pixels.
  • Quality Settings: By default, images are generated at standard quality. For enhanced detail, you can opt for the "hd" quality setting when using DALL-E 3.
  • Generation Speed: Square, standard quality images are the fastest to generate.
  • Generation Quantity: You can request 1 image at a time.

DALL-E 3 HD​

As an extension of DALL-E 3, the DALL-E 3 HD model offers images with high definition and intricate details.

  • Image Sizes: The same as DALL-E 3, with the addition of "hd" quality for even more detailed imagery.
  • Quality and Detail: This model will provide images with superior clarity and depth.
  • Generation Quantity: Similar to DALL-E 3, only 1 image can be requested at a time.

DALL-E 2​

DALL-E 2 is the predecessor to DALL-E 3 but still offers a robust set of features.

  • Image Sizes: DALL-E 2 supports 256x256, 512x512, and 1024x1024 image sizes.
  • Generation Quantity: Up to 10 images can be generated in a single request.
caution

Please note that when submitting a generation request to DALL-E 3, OpenAI may automatically revise it for safety and to add more detail. Detailed prompts tend to yield higher quality images.

To use these models within our plugin:

  1. Ensure you have the API key for DALL-E set up in the plugin settings.
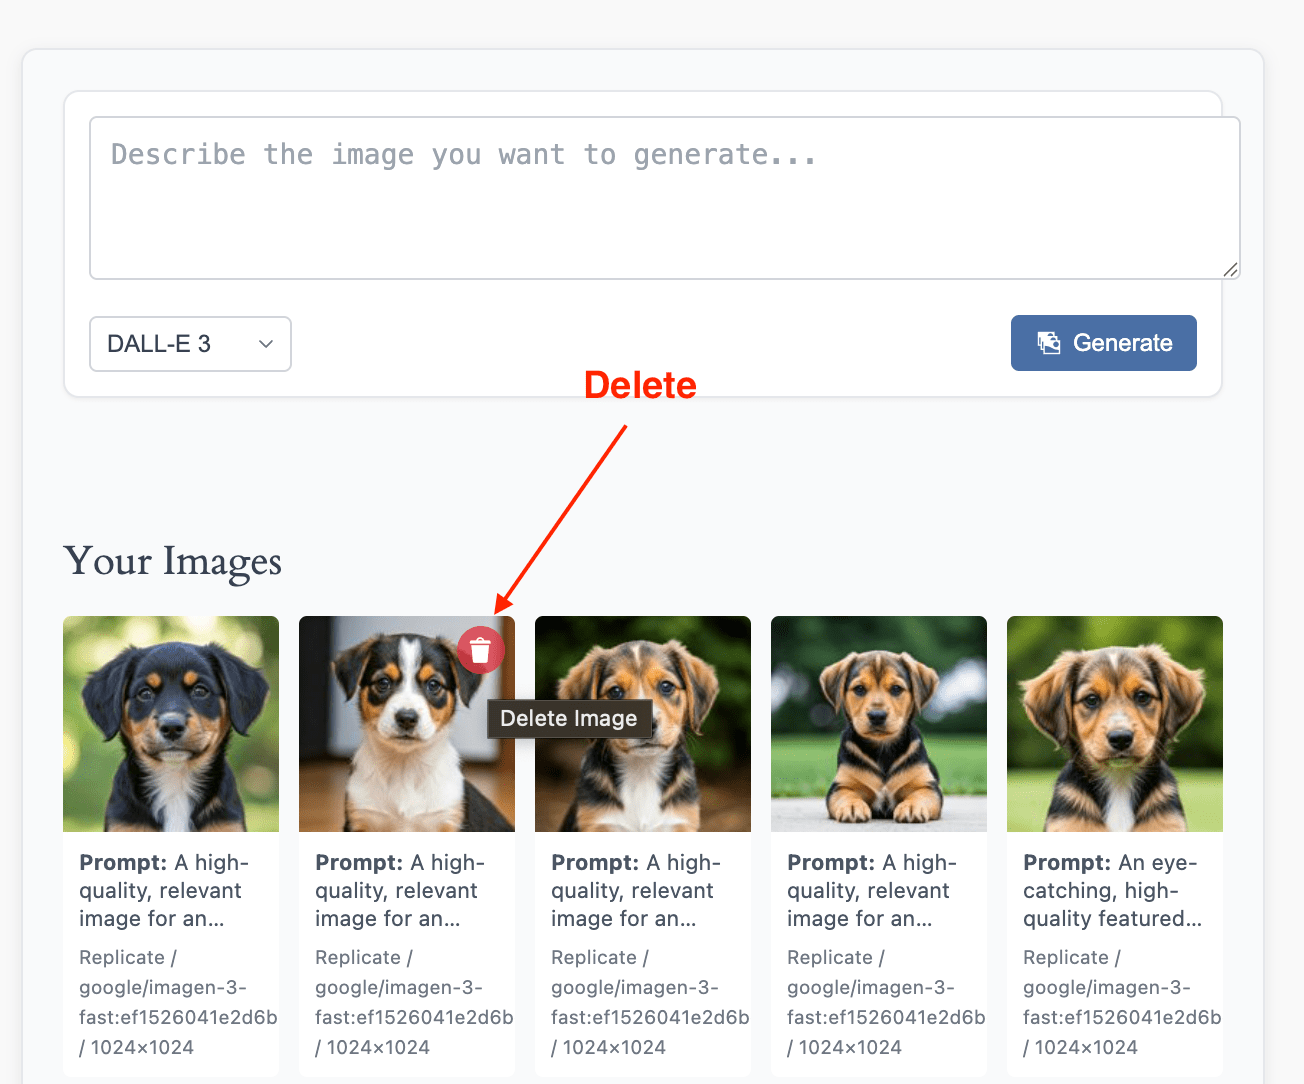
  2. Navigate to Image Generator and input your prompt.
  3. Select the desired model and image specifications.
  4. Hit the Generate button and await your unique AI-generated image.
info

Our plugin has been updated to support the new pricing tiers associated with each model and image size. The cost will be calculated dynamically based on your selection.

info

Not all prompts may lead to image generation due to OpenAI's strict content policy. If a prompt or image does not comply, an error message will be displayed.

Remember to explore our plugin's other features, including fine-tuning settings, handling pricing, and reviewing detailed logs, to enhance your image generation experience.

  • Make sure you have the API key for DALL-E and you have entered it in the plugin settings.
  • Go to Image Generator and enter a prompt in the text field.
  • Click on the Generate button.
  • Wait for the images to be generated.
  • Simply click on an image to delve into its details. While our plugin automatically assigns the prompt as alternative text, caption, description, and title, you have the freedom to modify them as per your preference.
  • You can select the image you like the most and click on the Save to Media button to save the image to your WordPress Media Library.

DALL-E supports 256x256, 512x512, and 1024x1024 image sizes and can generate up to 6 images per request.

info

Not all requests made to OpenAI will result in an image being returned. OpenAI filters both prompts and images in accordance with their content policy, and if either is flagged, an error will be returned.

This is the error message that will be displayed if the request is not in compliance with OpenAI's content policy:

"Your request was rejected as a result of our safety system. Your prompt may contain text that is not allowed by our safety system."

Settings​

Our image generator plugin is designed to offer a wide array of customization options to ensure that you get the most out of your AI-generated images.

Here, we explain each setting in detail.

Image Type​

The style of the generated images can be vivid or natural.

Vivid causes the model to lean towards generating hyper-real and dramatic images. This is a default value if none is defined.

Natural causes the model to produce more natural, less hyper-real looking images.

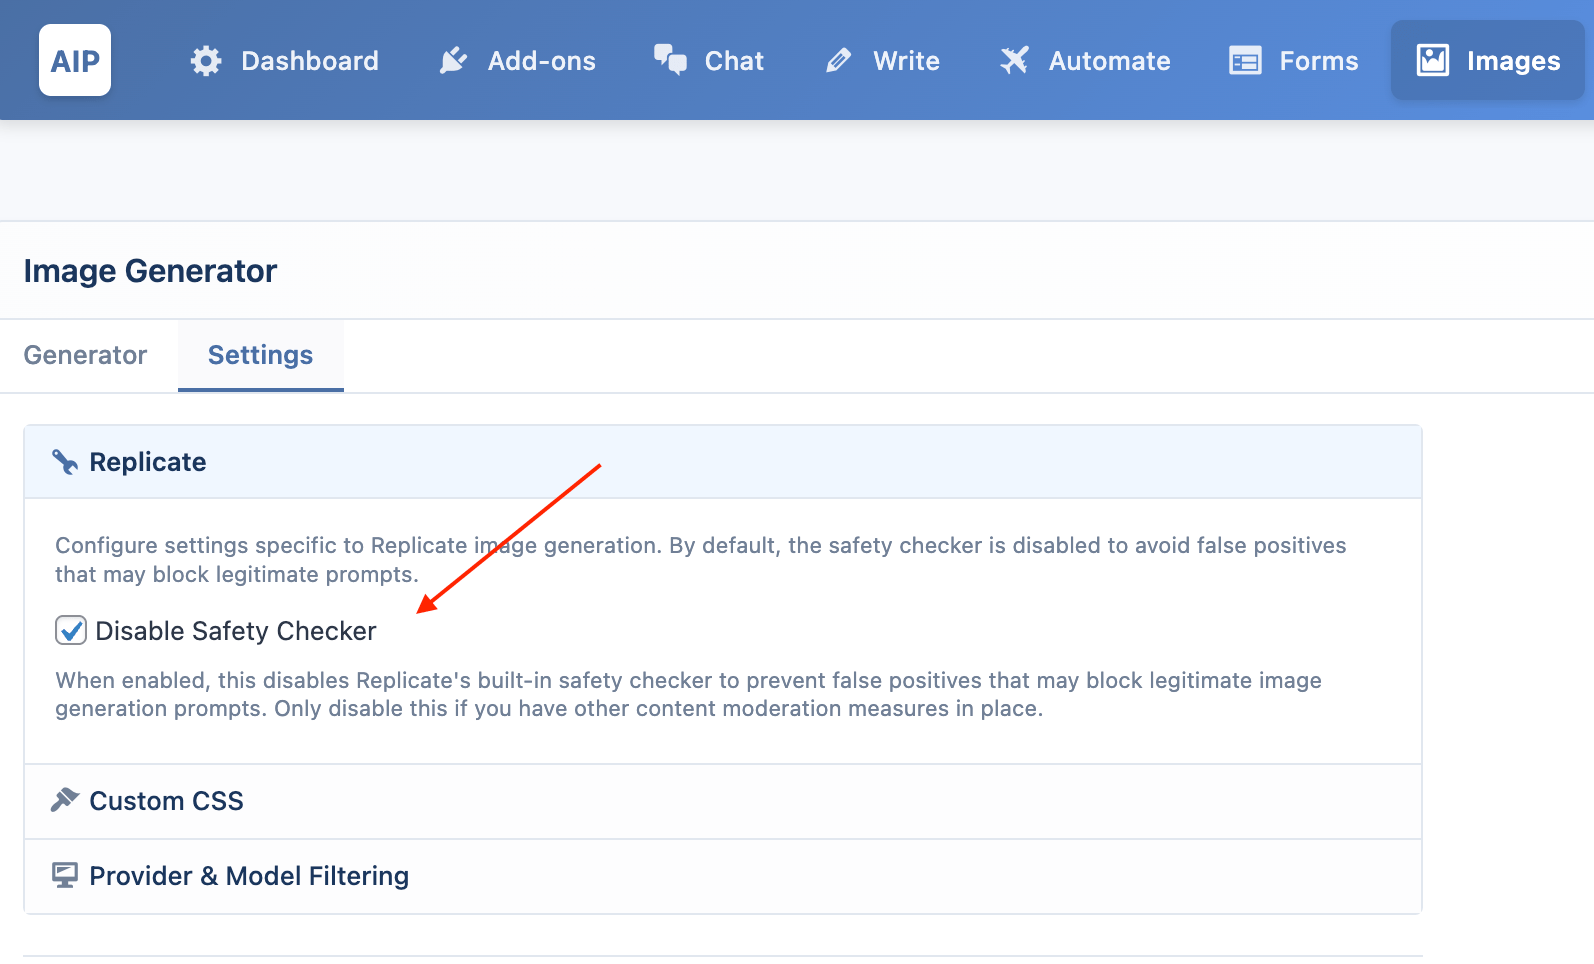
This parameter is only supported for DALL-E 3 and DALL-E 3 HD.

Artist​

Our plugin provides a dropdown menu with over 40 renowned artist names.

Artists that you can choose from are:

Albrecht Dürer, Alfred Sisley, Amedeo Modigliani, Andrea Mantegna, Andy Warhol, Camille Pissarro, Caravaggio, Caspar David Friedrich, Cézanne, Claude Monet, Diego VelÑzquez, Eugène Delacroix, Frida Kahlo, Gustav Klimt, Henri Matisse, Henri de Toulouse-Lautrec, Jackson Pollock, Jasper Johns, Joan Miró, Johannes Vermeer, Leonardo da Vinci, Mary Cassatt, Michelangelo, Pablo Picasso, Paul Cézanne, Paul Gauguin, Paul Klee, Pierre-Auguste Renoir, Pieter Bruegel the Elder, Piet Mondrian, Raphael, René Magritte, Salvador Dalí, Sandro Botticelli, Theo van Gogh, Titian, Vincent van Gogh, Vassily Kandinsky, Winslow Homer.

By selecting an artist, like Salvador Dali, the AI engine generates an image in that artist's style based on your prompt.

If your prompt is "A fantasy landscape with a floating castle and a dragon" and Salvador Dali is selected, the final prompt would be "A fantasy landscape with a floating castle and a dragon. Artist: Salvador Dali". If you do not want to specify an artist, you can leave the dropdown menu on None.

Style​

Over 50 art style names are available in the dropdown menu.

Art styles that you can choose from are:

Abstract, Abstract Expressionism, Art Brut, Art Deco, Art Nouveau, Baroque, Byzantine, Classical, Color Field, Conceptual, Cubism, Dada, Expressionism, Fauvism, Figurative, Futurism, Gothic, Hard-edge painting, Hyperrealism, Impressionism, Japonisme, Luminism, Lyrical Abstraction, Mannerism, Minimalism, Naive Art, Neo-expressionism, Neo-pop, New Realism, Op Art, Opus Anglicanum, Outsider Art, Photorealism, Pointillism, Pop Art, Post-Impressionism, Realism, Renaissance, Rococo, Romanticism, Street Art, Superflat, Surrealism, Symbolism, Tenebrism, Ukiyo-e, Western Art, YBA.

Upon selecting a style, the chosen AI engine generates an image in that style based on your prompt.

If you don't want to select a style, simply leave the dropdown menu on None.

The sample results provided below can be compared to see the impact of applying and not applying the artist and style options.

Artist and Style options are enabled:

Artist and Style options are disabled:

Photography​

Our plugin features more than 30 photography styles for you to choose from, enabling the AI engine to generate images that closely align with your preferred photography style.

Abstract, Action, Aerial, Agricultural, Animal, Architectural, Artistic, Astrophotography, Bird photography, Black and white, Candid, Cityscape, Close-up, Commercial, Conceptual, Corporate, Documentary, Event, Family, Fashion, Fine art, Food, Food photography, Glamour, Industrial, Landscape, Lifestyle, Macro, Nature, Night, Portrait, Product, Sports, Street, Travel, Underwater, Wedding, Wildlife.

Lightning​

With more than 50 lighting styles available, you can ensure your AI-generated image matches your desired lighting aesthetic.

Ambient, Artificial light, Backlight, Black light, Blue hour, Candle light, Chiaroscuro, Cloudy, Color gels, Continuous light, Contre-jour, Direct light, Direct sunlight, Diffused light, Firelight, Flat light, Fluorescent, Fog, Front light, Golden hour, Hard light, Hazy sunlight, High key, Incandescent, Key light, LED, Low key, Moonlight, Natural light, Neon, Open shade, Overcast, Paramount, Party lights, Photoflood, Quarter light, Reflected light, Rim light, Shaded, Shaded light, Silhouette, Side light, Single-source, Softbox, Soft light, Split lighting, Stage lighting, Studio light, Sunburst, Tungsten, Umbrella lighting, Underexposed, Venetian blinds, Warm light, White balance.

Subject​

Choose from over 10 different subjects for your AI-generated image.

This setting allows the AI engine to create images that are focused on the chosen subject matter.

Abstract, Action, Animals, Architecture, Candid, Cars, Cityscapes, Events, Flowers, Food, Landscapes, Nature, Night, People, Portrait, Seascapes, Still life, Street, Underwater, Wildlife.

Camera​

More than 40 different camera settings are available, simulating the adjustments one would make on a physical camera to achieve the desired image characteristics.

Active D-Lighting, Aperture, Aspect Ratio, Audio Recording, Auto Exposure Bracketing, Auto Focus Mode, Auto Focus Point, Auto ISO, Auto Lighting Optimizer, Auto Rotate, Chromatic Aberration Correction, Color Space, Continuous Shooting, Distortion Correction, Drive Mode, Dynamic Range, Exposure Compensation, Flash Mode, Focus Mode, Focus Peaking, Frame Rate, GPS, Grid Overlay, High Dynamic Range, Highlight Tone Priority, Image Format, Image Stabilization, Interval Timer Shooting, ISO, ISO Auto Setting, Lens Correction, Live View, Long Exposure Noise Reduction, Manual Focus, Metering Mode, Movie Mode, Movie Quality, Noise Reduction, Picture Control, Picture Style, Quality, Self-Timer, Shutter Speed, Time-lapse Interval, Time-lapse Recording, Virtual Horizon, Video Format, White Balance, Zebra Stripes.

Composition​

Our plugin offers more than 50 composition styles, which can affect the arrangement or 'composition' of the elements within the generated image.

Rule of Thirds, Asymmetrical, Balance, Centered, Close-up, Color blocking, Contrast, Cropping, Diagonal, Documentary, Environmental Portrait", Fill the Frame, Framing, Golden Ratio, High Angle, Leading Lines, Long Exposure, Low Angle, Macro, Minimalism, Negative Space, Panning, Patterns, Photojournalism, Point of View, Portrait, Reflections, Saturation, Scale, Selective Focus, Shallow Depth of Field, Silhouette, Simplicity, Snapshot, Street Photography, Symmetry, Telephoto, Texture, Tilt-Shift, Time-lapse, Tracking Shot, Travel, Triptych, Ultra-wide, Vanishing Point, Viewpoint, Vintage, Wide Angle, Zoom Blur, Zoom In/Zoom Out.Rule of Thirds, Asymmetrical, Balance, Centered, Close-up, Color blocking, Contrast, Cropping, Diagonal, Documentary, Environmental Portrait", Fill the Frame, Framing, Golden Ratio, High Angle, Leading Lines, Long Exposure, Low Angle, Macro, Minimalism, Negative Space, Panning, Patterns, Photojournalism, Point of View, Portrait, Reflections, Saturation, Scale, Selective Focus, Shallow Depth of Field, Silhouette, Simplicity, Snapshot, Street Photography, Symmetry, Telephoto, Texture, Tilt-Shift, Time-lapse, Tracking Shot, Travel, Triptych, Ultra-wide, Vanishing Point, Viewpoint, Vintage, Wide Angle, Zoom Blur, Zoom In/Zoom Out.

Resolution​

Choose from 7 different resolution options for your image.

This setting dictates the amount of detail an image holds, the higher the resolution, the more detail in the image.

4K (3840x2160), 2K (2560x1440), 1080p (1920x1080), 720p (1280x720), 480p (854x480), 1080i (1920x1080), 720i (1280x720).

Color​

Choose from 20 different color options for your image. This setting can significantly affect the mood and aesthetic of the generated image.

RGB, CMYK, Grayscale, HEX, Pantone, CMY, HSL, HSV, LAB, LCH, LUV, XYZ, YUV, YIQ, YCbCr, YPbPr, YDbDr, YCoCg, YCgCo, YCC.RGB, CMYK, Grayscale, HEX, Pantone, CMY, HSL, HSV, LAB, LCH, LUV, XYZ, YUV, YIQ, YCbCr, YPbPr, YDbDr, YCoCg, YCgCo, YCC.

Remember, these settings allow you to influence the AI's image generation process, helping you achieve the most suitable image for your purpose.

So, feel free to experiment and see how each setting alters the final result.

Stable Diffusion πŸš€πŸš€πŸš€β€‹

Stable Diffusion is another deep learning, text-to-image model.

Check out the demo here.

To use Stable Diffusion:

  • Copy this key, then return to our plugin
  • Go to Settings - Image tab, and find the Stable Diffusion section.
  • Paste your API key into the appropriate field.
  • You'll also see an optional field named Version. If you know your version number, you can enter it here. If not, no worries β€” just leave it blank. Our plugin will automatically use the latest version from Stable Diffusion.
  • Click Save to finalize your changes.

Now your API key is ready, you can start generating images.

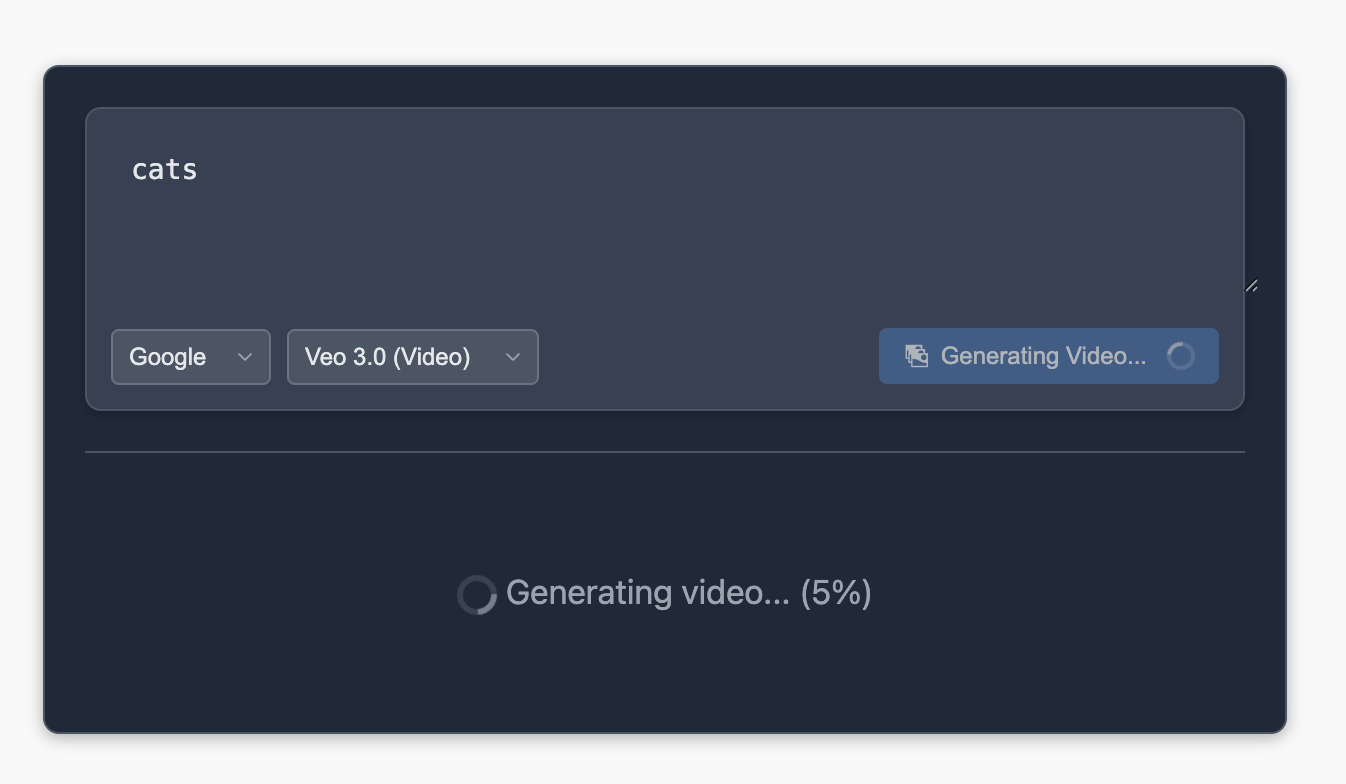
  • Navigate to the Image Generator and switch to Stable Diffusion tab.
  • Enter a prompt in the text field.
  • Click on the Generate button.
  • Wait for the images to be generated.
  • Simply click on an image to delve into its details. While our plugin automatically assigns the prompt as alternative text, caption, description, and title, you have the freedom to modify them as per your preference.
  • Select the image you like the most and click on the Save to Media button to save the image to your WordPress Media Library.

Stable Diffusion supports sizes from 128x128 to 1024x1024 and can generate up to 2 images per request.

tip

You can explore various versions of the Stable Diffusion prediction models at this link.

Settings​

In addition to the general settings, Stable Diffusion offers some unique features:

  • Negative Prompt: This allows you to specify certain words that you want the generated image to exclude. If you have multiple words, you can separate them with a comma.
  • Prompt Strength: This controls the amount of noise added to the input image. It's a value between 0.0 and 1.0, where a higher value will add more noise, and a lower value will add less.
  • Number of Inference Steps: This parameter determines the number of denoising steps in the image generation process. You can set any value between 1 and 500.
  • Guidance Scale: This scale is used for classifier-free guidance in the image generation process. You can select any value between 1 and 20.
  • Scheduler: This parameter determines the type of solver used in the diffusion process. The available options are DDIM, K_EULER, DPMSolverMultistep, K_EULER_ANCESTRAL, PNDM, and KLMS. Each of these options represents a different mathematical approach to the diffusion process.

Once you've determined the optimal settings, click the Save as Default button to store them for future use.

How to Use Different Models on Replicate​

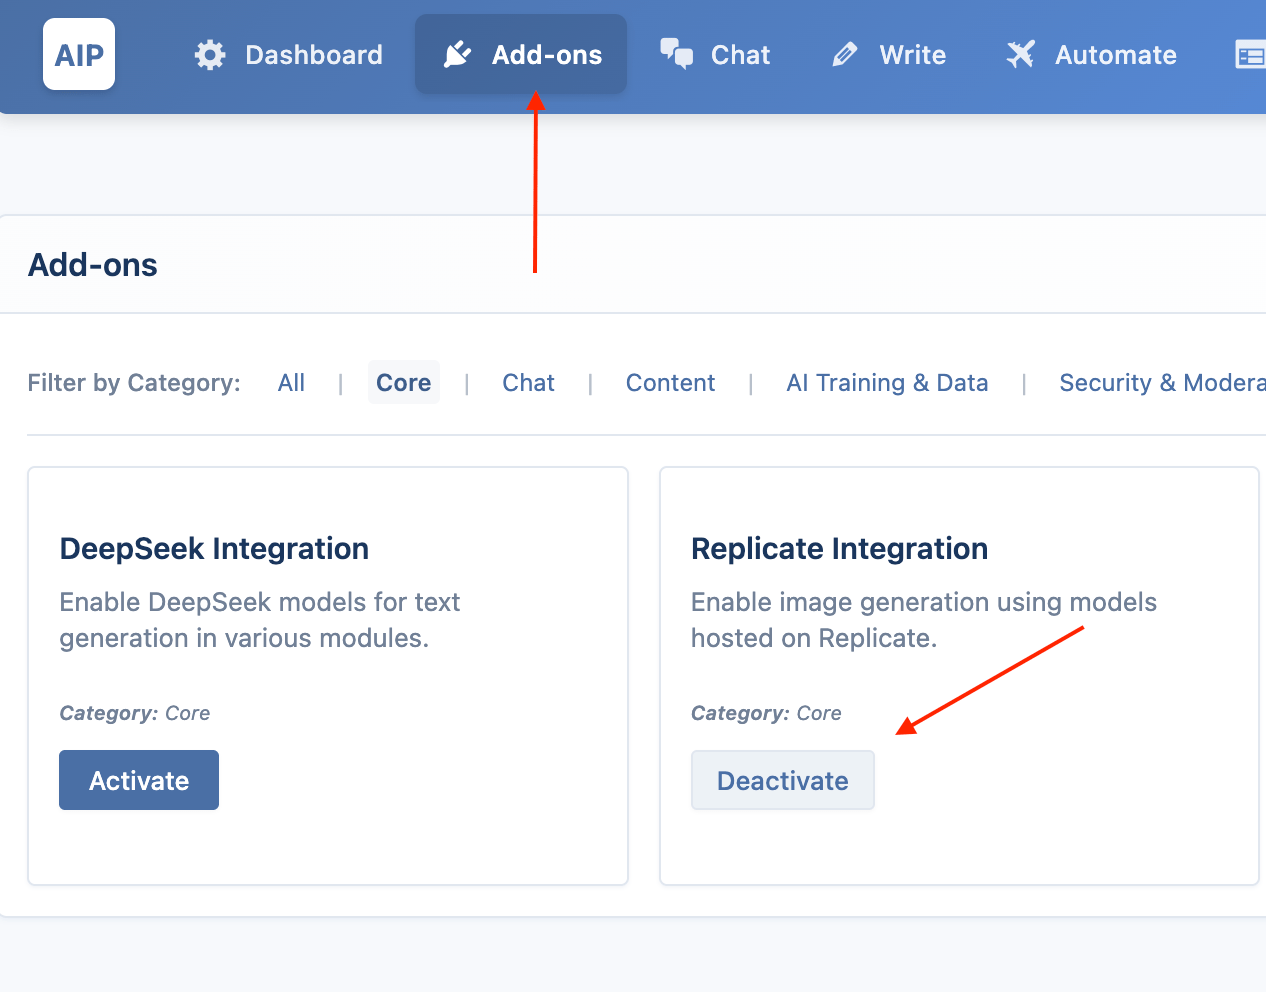
Replicate offers a plethora of AI models beyond just Stable Diffusion. With our plugin, you have the flexibility to tap into any of these models and harness their capabilities.

For instance, you can generate animated GIFs from text.

Here are the steps:

  1. Navigate to Replicate's website.
  2. Click on the Explore link.
  1. Search for your desired model, for example, hotshot-xl. This model allows you to generate animated GIFS from a given text.
  2. Once located, go to the Versions tab of the model.
  1. Copy the latest version number.

Back in our plugin:

  1. Access the Settings and then the Image tab.
  2. Paste the version number you copied into the Version field.
  1. Save your changes.

When you're ready to generate an image:

  1. Proceed to the Image Generator section and go to the Stable Diffusion tab.
  2. Scroll down, and you'll see a Scheduler dropdown on the right.
  3. Choose Custom. A text field will manifest.
  1. Input the custom scheduler name. If you're in doubt about this, valid scheduler names can be found here for this specific model.
  2. Click "save as default".
  3. Now, draft your prompt, press the Generate button, and be mesmerized as your text transforms into an animated GIF!

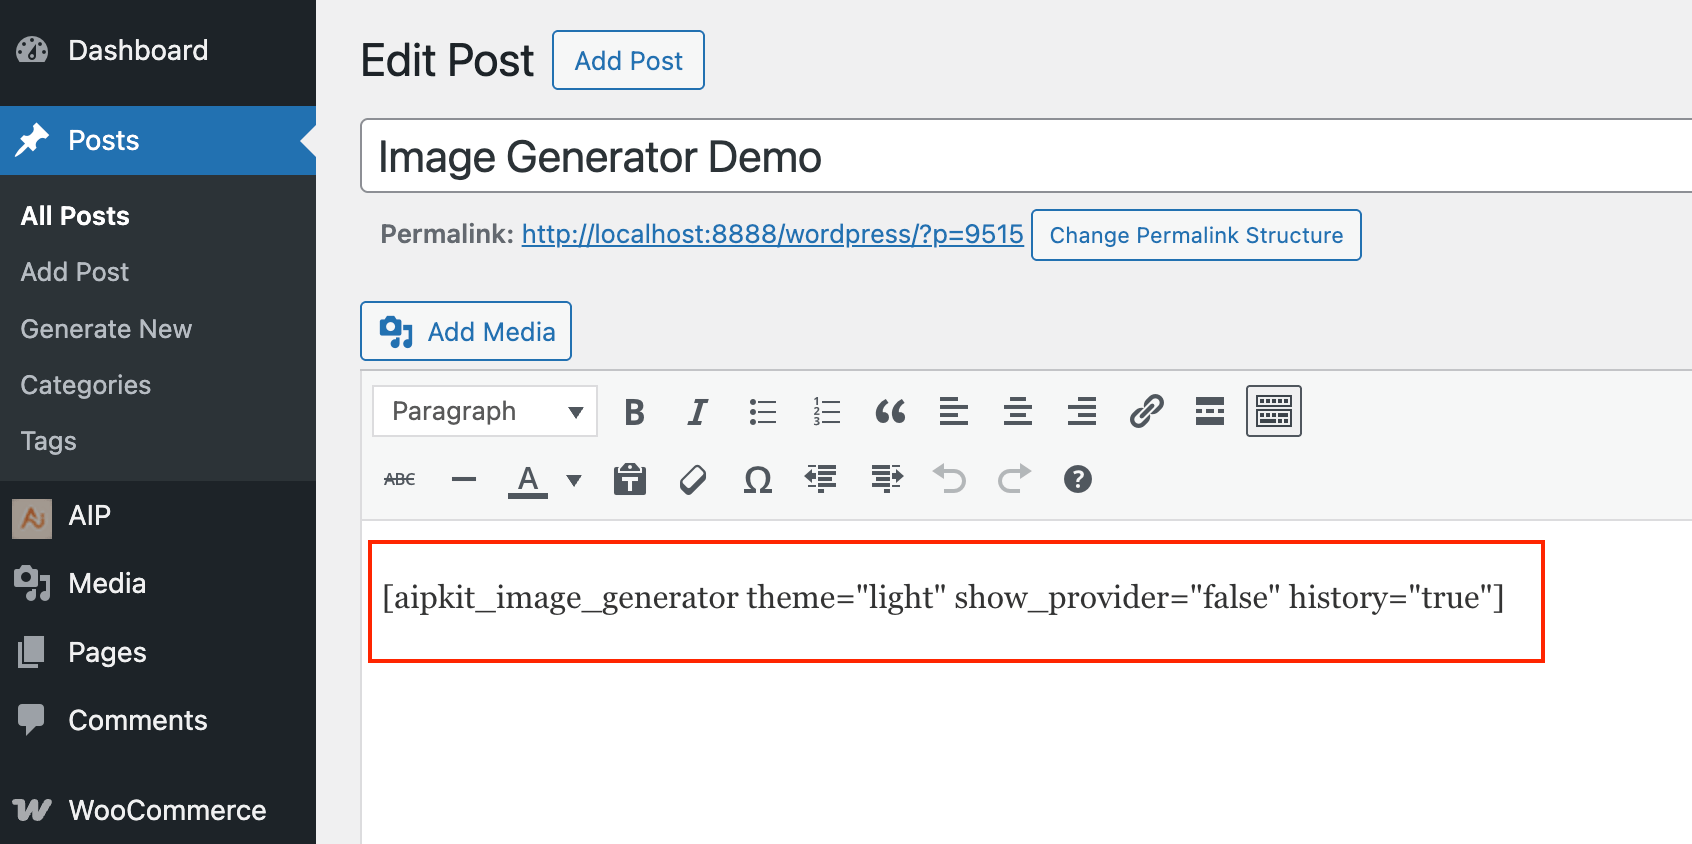
Shortcodes​

Integrating AI-driven image generators into your website can significantly enhance user experience by providing interactive features.

This guide will explain how you can easily embed the DALL-E and Stable Diffusion image generators into your website using shortcodes.

What are shortcodes?​

Shortcodes are small pieces of code that you can insert into your website's posts or pages to execute a specific function or display a feature.

In this case, the shortcodes will display the DALL-E and Stable Diffusion image generators.

How to Use Shortcodes​

Firstly, decide where you would like to display the image generator. This could be in a post or a page. Then, open the editor of that post or page.

Displaying Both DALL-E and Stable Diffusion​

To allow users to generate images using both the DALL-E and Stable Diffusion models, use the following shortcode:

[wpcgai_img]

Simply copy and paste it into the text editor where you'd like the generators to appear.

Displaying Only DALL-E​

If you prefer to offer only the DALL-E model, use the following shortcode:

[wpcgai_img dalle=yes]

Copy this shortcode and paste it into the desired location.

Displaying Only Stable Diffusion​

To display only the Stable Diffusion model, use the following shortcode:

[wpcgai_img sd=yes]

Again, copy this shortcode and paste it into the desired location.

Displaying the Settings​

To include settings alongside your image generator, you can use the following shortcodes:

[wpcgai_img settings=yes]
[wpcgai_img dalle=yes settings=yes]
[wpcgai_img sd=yes settings=yes]

These shortcodes display the settings panel which allows users to customize their image generation experience.

Simply choose the appropriate shortcode and paste it where you'd like the settings to appear.

After you've inserted the desired shortcode, save your changes.

Your image generator, based on the shortcode you used, should now be visible and interactive on your website.

Remember, by embedding these AI-driven image generators on your website, you are not only enhancing the aesthetic appeal of your site, but also providing a unique, engaging, and interactive experience for your users.

Price Handling​

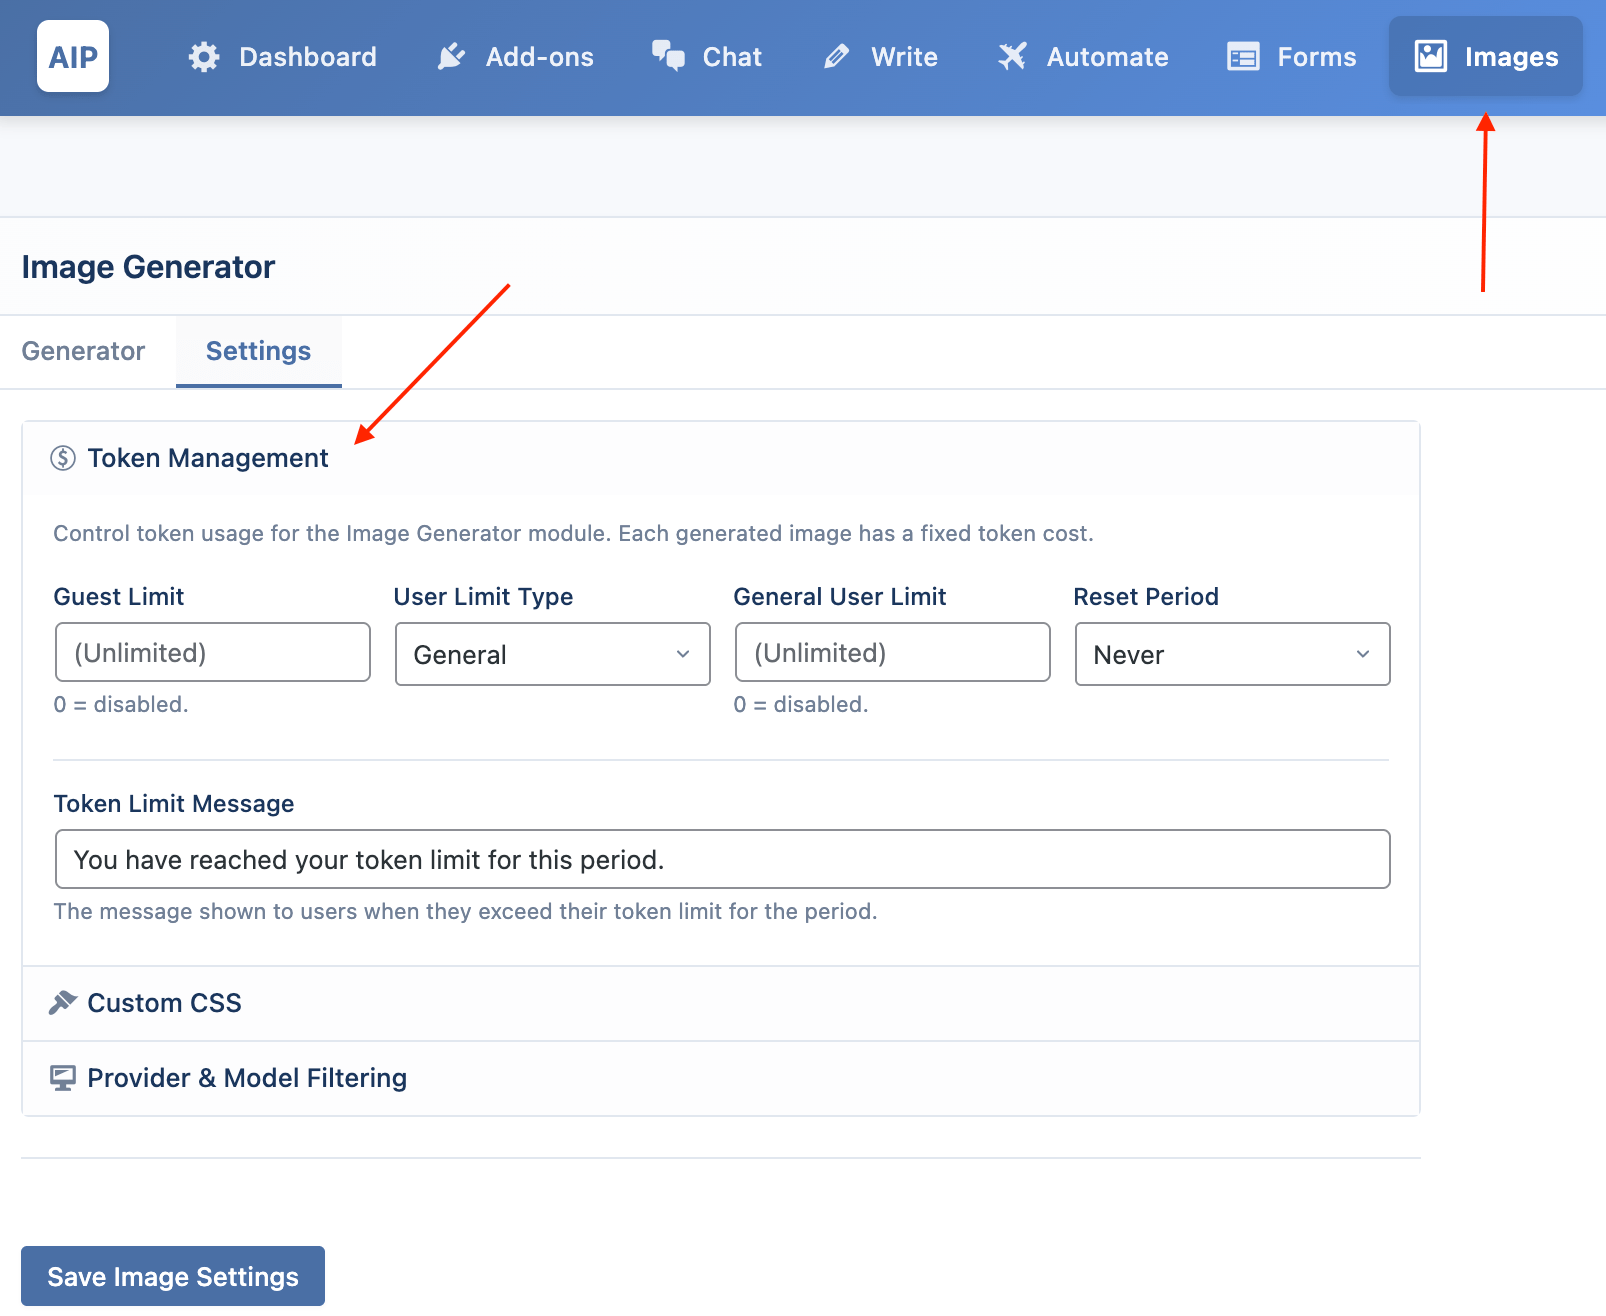
The Image Generator provides a robust price handling feature that allows you to control and limit the usage of the generator based on user roles and registration status.

This can be found under the Settings tab in the Image Generator.

Here's a step-by-step guide on how to use this feature.

  • Limit Registered User: This setting allows you to decide whether to place a limit on registered users. To enable this feature, check the corresponding box. If you don't want to limit registered users, leave the checkbox unmarked.
  • Price Limit for Registered Users: This is where you define the limit in dollar terms for registered users. Enter the maximum amount you want each registered user to be able to spend on image generation.
  • Role-based Limit: This feature allows you to set individual price limits for different user roles on your Wordpress site. Clicking on Set Limit will open a modal window displaying all the user roles in your Wordpress site. Here, you can assign a specific limit for each role.
  • Limit Non-Registered User: This setting is similar to Limit Registered User, but it applies to non-registered users. To enable this feature, check the corresponding box. If you don't want to limit non-registered users, leave the checkbox unmarked.
  • Price Limit for Non-Registered Users: This setting allows you to define the limit in dollar terms for non-registered users. Enter the maximum amount you want each non-registered user to be able to spend on image generation.
  • Notice: Here, you can customize the message that users will see when they reach their limit. For example, "You have reached your limit".
  • Reset Limit: This setting defines the interval at which the limit will reset. You can choose from Never, 1 day, 3 days, 1 week, 2 weeks, 1 month, 2 months, 3 months or 6 months. Selecting Never will mean that the limit does not reset, and users will have to wait until the next reset interval to generate more images if they reach their limit.

Remember to click Save once you're done adjusting these settings to ensure all changes are applied.

This feature gives you great flexibility in managing usage and costs associated with the Image Generator on your site.

tip

If you encounter issues with saving images, try adjusting the wp-config.php file by adding the following line of code:

define('ALLOW_UNFILTERED_UPLOADS', true);

This will enable unfiltered uploads, allowing you to save files without any restrictions.

Limitations​

  • Please note that our plugin is not capable of tracking usage for the 'Stable Diffusion' feature due to constraints in the provided API. This feature does not supply the necessary information for our plugin to track its usage effectively. Therefore, if you plan to implement a usage-based charge system for your users, we advise against enabling the 'Stable Diffusion' feature.
  • Regarding DALL-E usage, OpenAI adopts a different charging scheme. Unlike most features that are charged based on the number of tokens used, DALL-E usage is charged on a dollar basis. This means the cost for using DALL-E is not calculated based on the number of tokens, but instead corresponds directly to a monetary value. Please keep this in mind while utilizing the DALL-E feature.

Token Sale​

You can charge your users for their use of our image generation tools.

Our integration with WooCommerce allows you to sell tokens, which users can purchase and utilize to access and enjoy the image creation features on your site.

Dive into a new revenue stream while providing value to your users.

Learn more about it here: User Account Management & Token Sale

Custom Style​

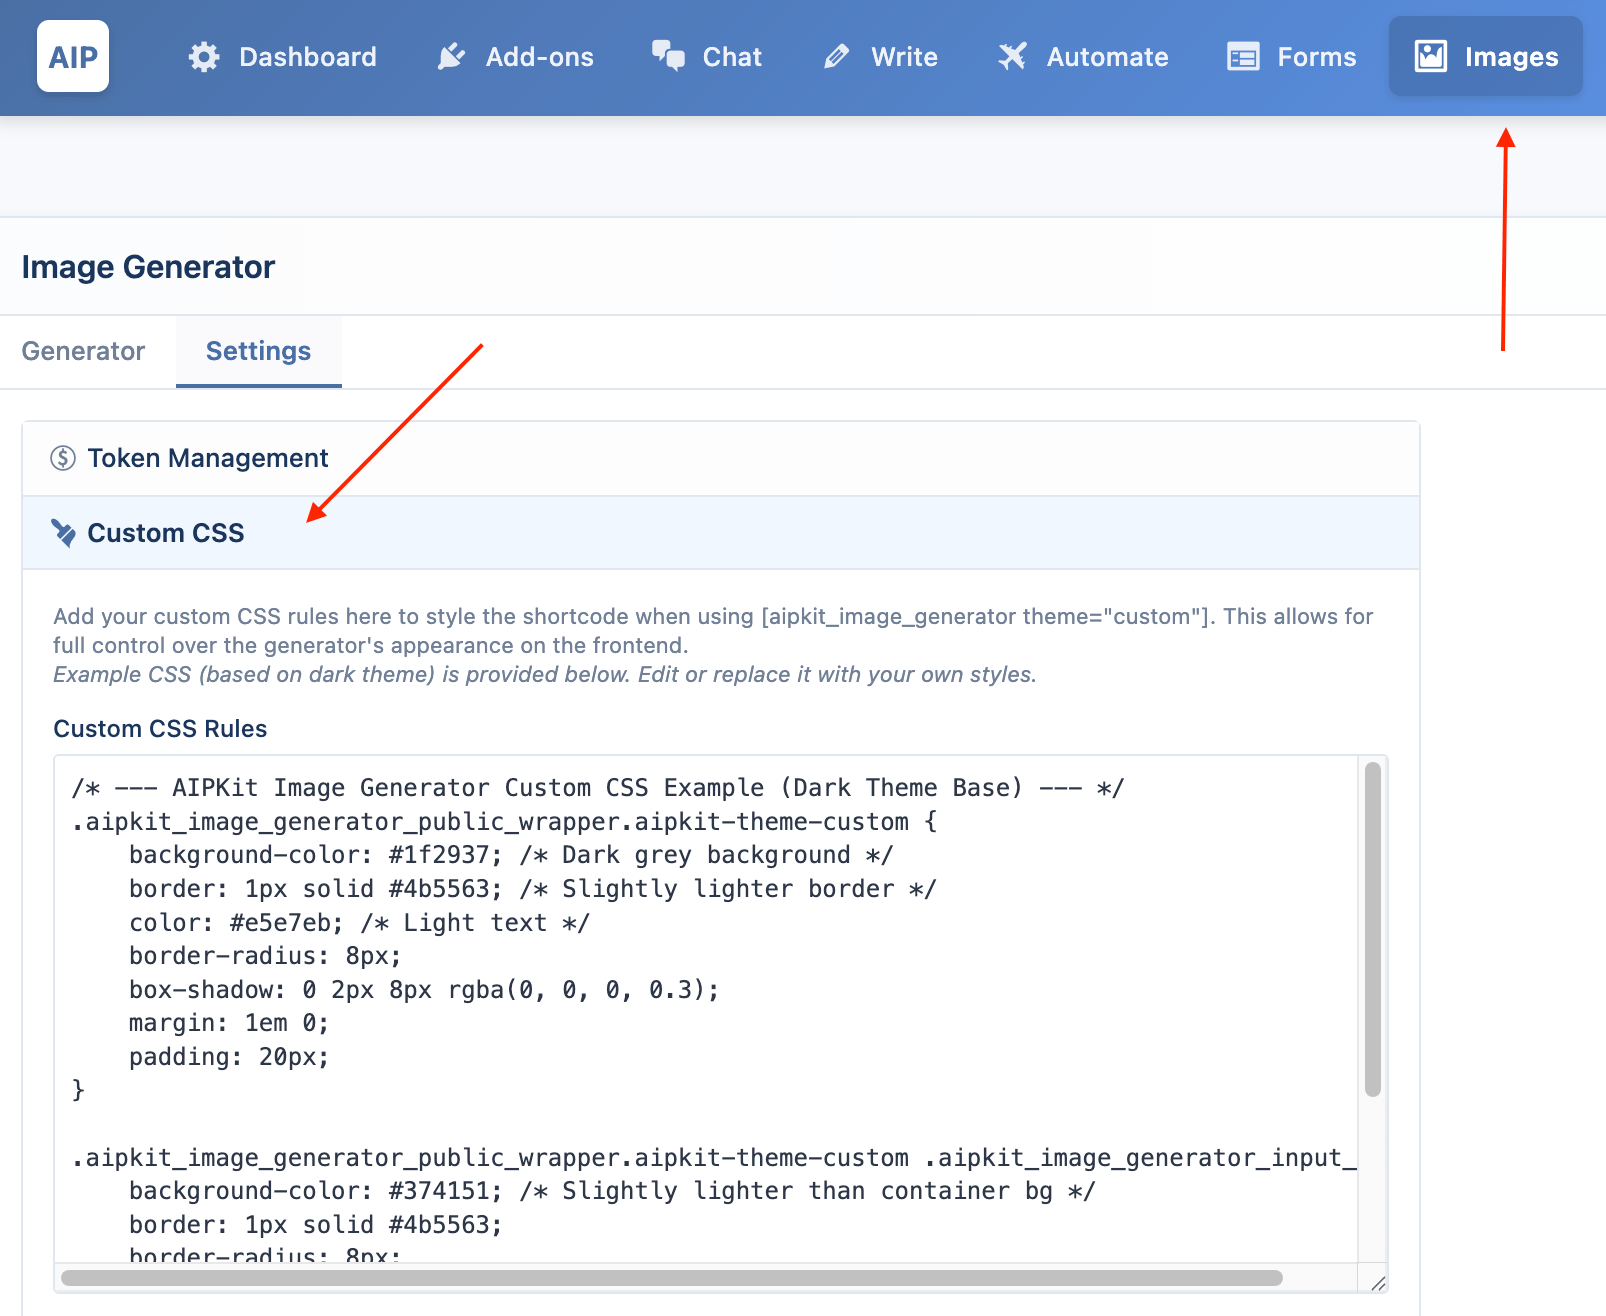
If you wish to add custom styling to your image generator form, you can follow below steps:

  • Navigate to your WordPress dashboard.
  • Go to Appearance and then click on Customize.
  • In the Customize interface, you will see an Additional CSS option. Click on it.
  • Here you can add your custom CSS rules.

As an example, if you want to change the image generator form layout, you can add the following CSS rule:

/* Style the main form */
#wpaicg-image-generator-form {
background-color: #f9f9f9;
border-radius: 8px;
padding: 20px;
box-shadow: 0px 8px 16px 0px rgba(0,0,0,0.2);
}

/* Style input fields and textareas */
#wpaicg-image-generator-form input,
#wpaicg-image-generator-form textarea {
width: 100%;
padding: 15px;
margin: 10px 0;
border: 1px solid #ccc;
border-radius: 4px;
}

/* Style labels */
#wpaicg-image-generator-form label {
font-weight: bold;
}

/* Style buttons */
#wpaicg-image-generator-form button {
background-color: #007BFF;
color: white;
padding: 15px 20px;
border: none;
border-radius: 4px;
cursor: pointer;
}

/* Button hover state */
#wpaicg-image-generator-form button:hover {
background-color: #0056b3;
}

Custom Text​

Our image generator plugin allows you to customize various elements of the interface to better fit your website's style and user interaction.

The elements that you can customize include:

  • Surprise Me: This text appears on the button that triggers a random prompt for image generation. You can customize it to any string that suits your preference.
  • Generate: This is the button text that initiates the image generation process. You can change it to align with your website's language or tone.
  • View Image: This text is displayed on the button that opens the generated image for a detailed view. If you prefer a different label, you can adjust it here.
  • Save to Media: This text appears on the button that allows users to save the generated image to their media library. You can customize it to fit your website's style.
  • Select All: This button text is used to select all generated images. You can replace it with a string of your choice.

Surprise Me Prompts​

This feature allows you to define a list of prompts that will randomly appear when the user clicks the Surprise Me button.

Each prompt should be listed on a separate line.

If you leave this field empty, the plugin will use the default set of prompts.

This allows you to add an element of surprise and randomness to the user's experience, and can be customized to suit the theme or purpose of your website.

Logs​

Logs feature offers an insightful overview of the activities on your site related to the image generation process.

This feature is located under the Image Generator - Logs tab in your plugin.

Each row in the log table provides the following details:

  • Prompt: The initial input or phrase provided by the user for image generation.
  • Image Size: The dimensions of the generated image.
  • Total Images: The total number of images generated for a given prompt.
  • Source: The specific page or location where the image was generated.
  • Shortcode: The shortcode used to trigger the image generation.
  • Duration: The time taken for the image generation process.
  • Estimated Cost: An approximation of the cost incurred for the image generation.
  • Created At: The timestamp when the image was generated.

In addition, a search box is available for you to quickly locate specific log entries.

This can be particularly useful for auditing, troubleshooting, or understanding user behavior related to image generation on your site.

Just type your search term into the search box and hit Enter to retrieve matching log entries.