

Free version
Install from the WordPress plugin directory.
ZIP upload
Upload a plugin ZIP file from WordPress.org, your purchase email, or the User Portal.
Install the free version
- Open your WordPress admin dashboard.
- Go to Plugins > Add New.
- Search for AI Puffer.
- Click Install Now.
- Click Activate after the installation finishes.
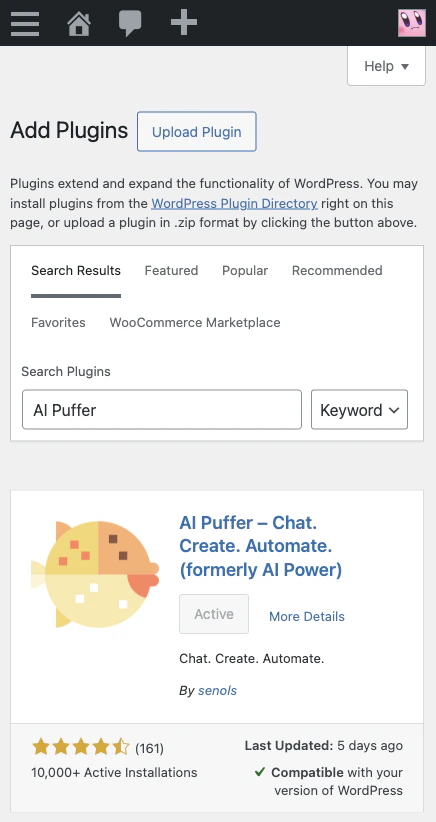
If the button says Active, the plugin is already installed and active on that site.
First-time setup
After activation, onboarding guides you through Your goals, Connect AI, and First result.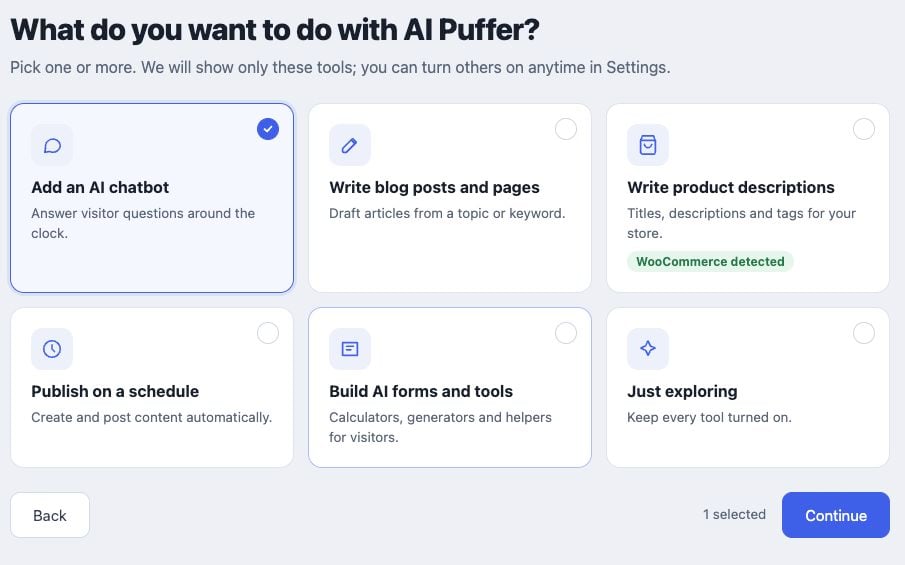
- Choose the tools you want to use. You can enable more later in Settings > Modules.
- Choose AI Puffer Cloud to start without an API key, I have my own API key to connect a provider account, or skip setup to configure it later.
- For Cloud, check the email address, accept the connection terms, and click Connect. Marketing email consent is optional.
- If asked to verify your email, open the Freemius confirmation message and confirm the address. Return to onboarding and click I’ve verified my email. Use Resend email if you need another message.
- Once connected, try the first result offered for your chosen tool: a chatbot reply, a draft, a product description, an AI form, or a blog-post automation.
- Complete or skip that result to enter the main dashboard. Review generated content before publishing it.
Upload a plugin ZIP file
Use this method if you downloaded the plugin ZIP from WordPress.org, your purchase email, or the User Portal.- Open your WordPress admin dashboard.
- Go to Plugins > Add New.
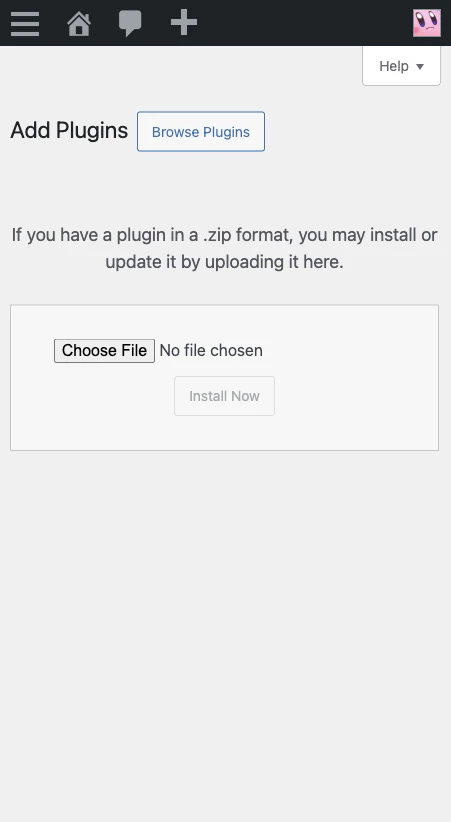
- Click Upload Plugin.
- Choose the plugin ZIP file.
- Click Install Now.
- Click Activate Plugin.
Upgrade from Free to Pro
You can upgrade from inside WordPress or from the AI Puffer website.From WordPress
- Install and activate the free version.
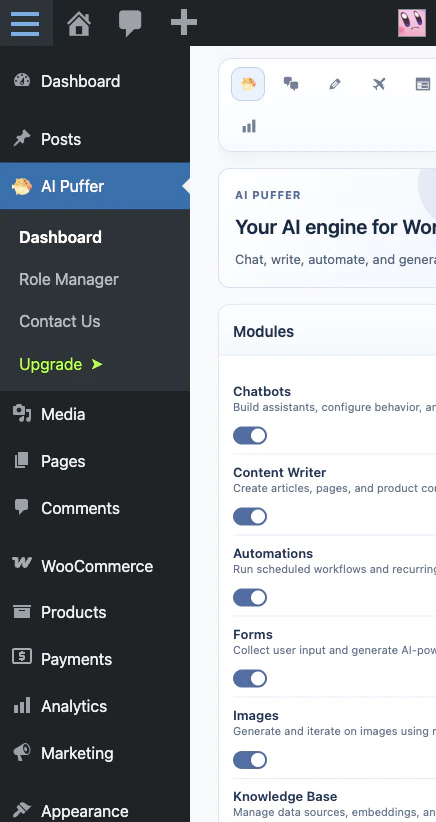
- Open AI Puffer in the WordPress admin menu.
- Click Upgrade.
- Choose your license.
- Complete checkout.
From the website
- Open the AI Puffer pricing page.
- Choose a license.
- Complete checkout.
- Check your email for the license key and Pro plugin download link.
Safari ZIP setting
If you use Safari on macOS, make sure Safari does not automatically unzip downloaded files.- Open Safari.
- Go to Safari > Settings.
- Open the General tab.
- Turn off Open “safe” files after downloading.
.zip file. If Safari already extracted it, download the file again after changing this setting.