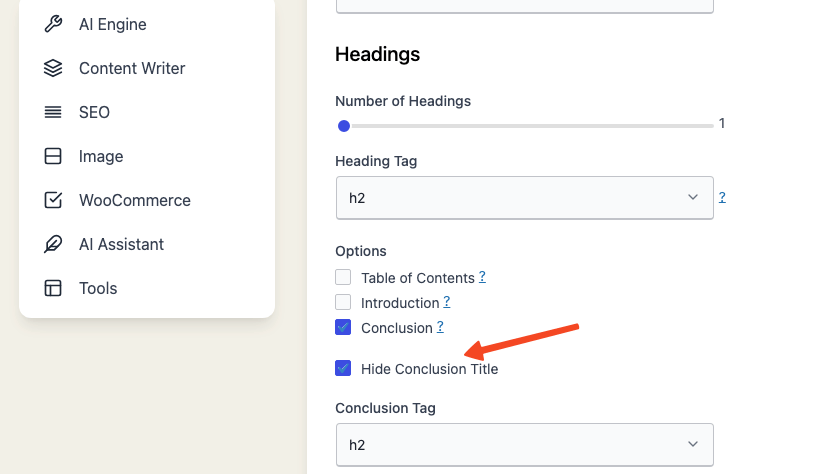
Additional Content
Tagline
This feature allows you to add a catchy and relevant tagline to your content.
A tagline is a short phrase that summarizes the main idea of your content and captures the reader’s attention.
Enable or Disable Tagline
- Go to Settings - Content in the plugin menu and find the Additional Content section.
- Enable the Add Tagline by checking the box next to it, or disable it by unchecking the box.
- Click Save to apply your choice.
- From now on, whenever you generate content, a tagline will be inserted at the beginning of your content if the option is enabled, or it won't be included if the option is disabled.
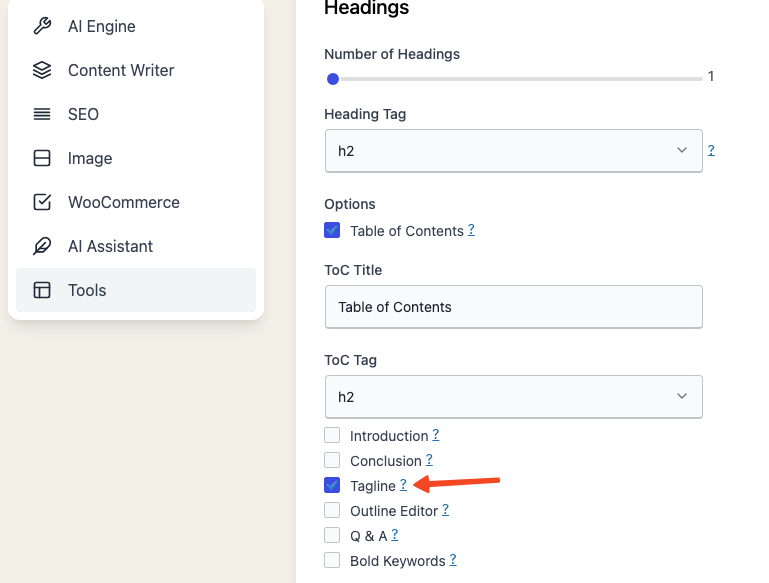
Suppose your title is Healthy Life, then your tagline will appear like this and be placed immediately after your title:
Introduction
The Introduction feature allows you to generate a concise and informative introduction for your content.
An engaging introduction helps to set the context, provide an overview, and capture your readers' attention.
Enable or Disable Introduction
- Go to Settings - Content in the plugin menu and find the Introduction section.
- Enable the Add Introduction by checking the box next to it, or disable it by unchecking the box.
- Click Save to apply your choice.
- From now on, whenever you generate content, an introduction will be inserted at the beginning if the option is enabled, or it won't be included if the option is disabled.
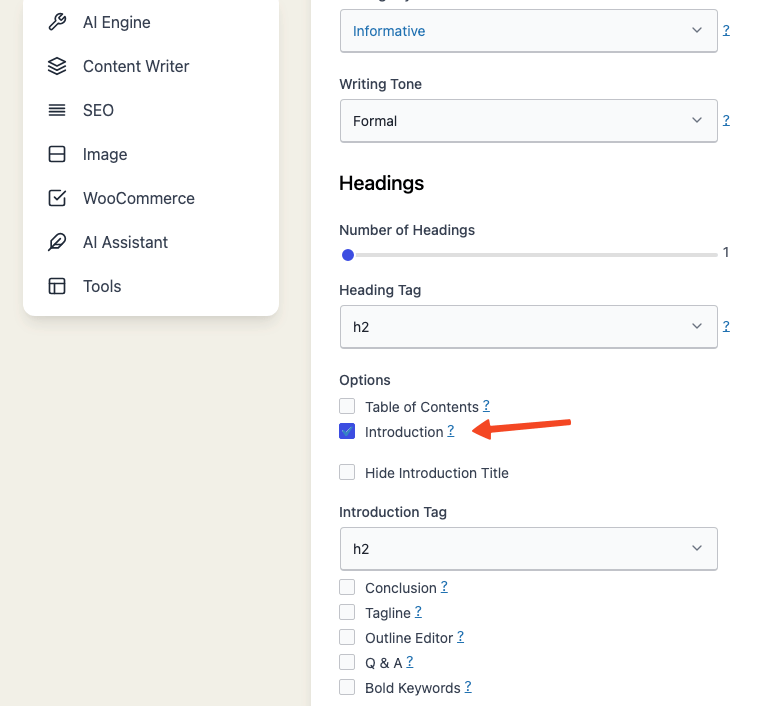
Setting the Heading Tag for Introduction
Introduction title is tagged with an H2 by default. You can modify the tag by navigating to the Settings - Content tab.
- Go to Settings - Content in the plugin menu and locate the Introduction section.
- Find the Intro Title Tag option.
- Choose a heading tag for the introduction title, selecting from h1 to h6 in the dropdown menu.
- Click Save to apply your chosen heading tag.
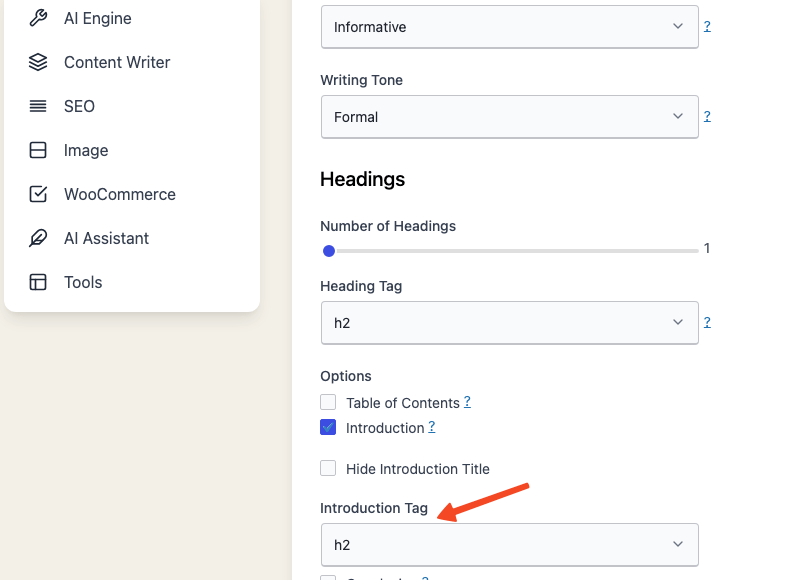
Now, whenever you generate content, the introduction title will be formatted with the selected heading tag.

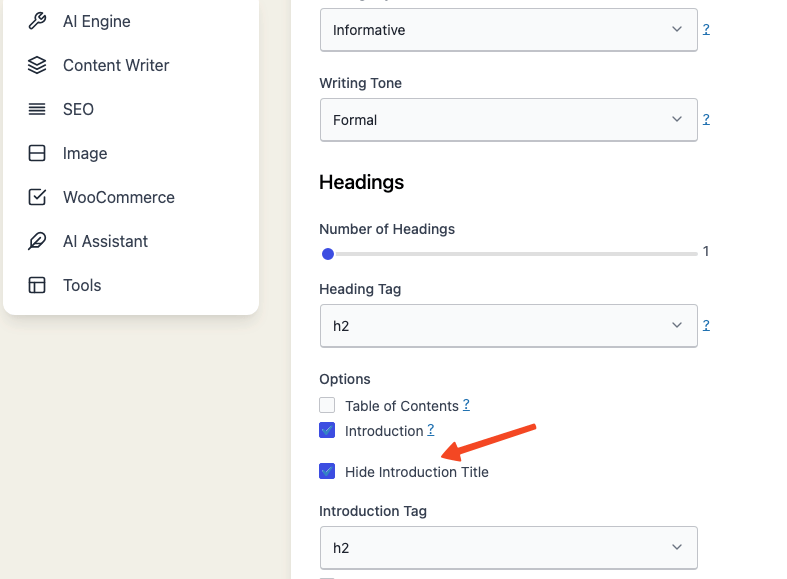
Show or Hide Introduction Title
- Go to Settings - Content in the plugin menu and locate the Introduction section.
- Find the Hide Introduction Title option.
- Select "yes" to hide the introduction title, or "no" to keep it visible.
- Click Save to apply your choice.
With this setting, you can control the visibility of the introduction title according to your preferences.
Conclusion
This feature allows you to add a well-written and relevant conclusion to your content.
A conclusion is a paragraph or two that summarizes the main points of your content and ties everything together.
It's an important part of any piece of writing, and can help engage your readers and leave a lasting impression.
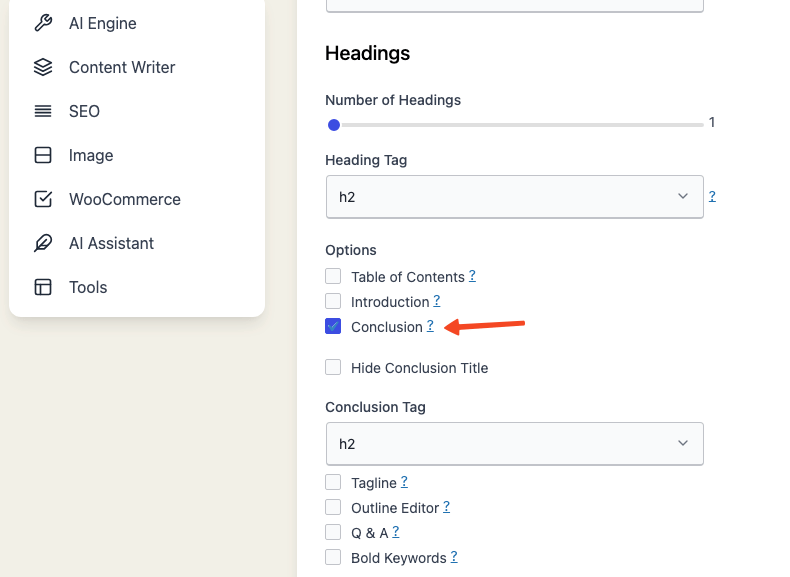
Enable or Disable Conclusion
- Go to Settings - Content in the plugin menu and find the Conclusion section.
- Enable the Add Conclusion by checking the box next to it, or disable it by unchecking the box.
- Click Save to apply your choice.
- From now on, whenever you generate content, a conclusion will be inserted at the end if the option is enabled, or it won't be included if the option is disabled.
Setting the Heading Tag for Conclusion
Conclusion title is tagged with an H2 by default. You can modify the tag by navigating to the Settings - Content tab.
- Go to Settings - Content in the plugin menu and locate the Conclusion section.
- Find the Conclusion Title Tag option.
- Choose a heading tag for the conclusion title, selecting from h1 to h6 in the dropdown menu.
- Click Save to apply your chosen heading tag.
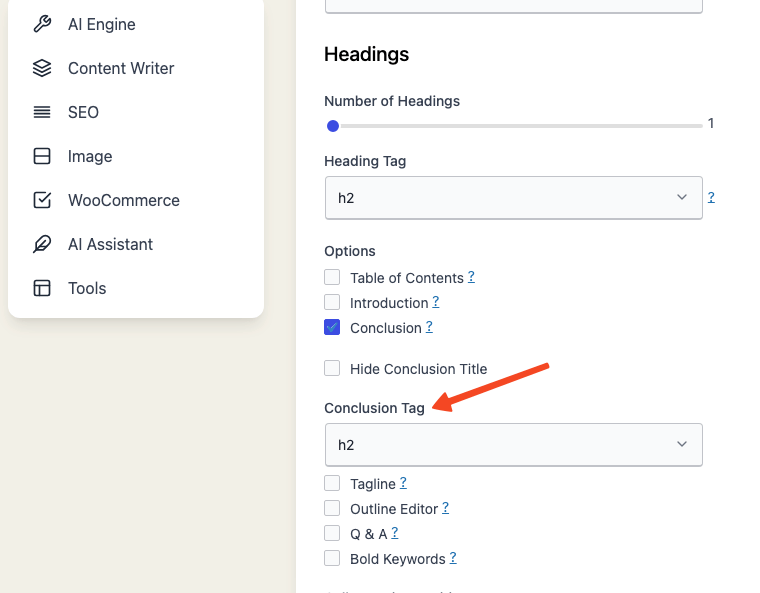
Now, whenever you generate content, the conclusion title will be formatted with the selected heading tag.

Show or Hide Conclusion Title
- Go to Settings - Content in the plugin menu and locate the Conclusion section.
- Find the Hide Conclusion Title option.
- Select "yes" to hide the conclusion title, or "no" to keep it visible.
- Click Save to apply your choice.
With this setting, you can control the visibility of the conclusion title according to your preferences.
