Images
You can add images to your content using OpenAI’s DALL-E model, Replicate models, Pexels or Pixabay.
Here's an overview of the four available options for adding images to your content:
- DALL-E (AI-generated images): Create unique and contextually relevant images using OpenAI's DALL-E model.
- Replicate (AI-generated images): Generate images using various models available on Replicate, including Flux, Stable Diffusion, SDXL, Kandinsky, and more.
- Pexels: Access a vast library of high-quality and royalty-free images from the Pexels platform.
- Pixabay: Utilize the extensive collection of free-to-use images available on Pixabay.
- None: Choose this option if you don't want to add any images to your content.
Adding an Image
- Go to Settings - Image tab.
- Select the Image Source you want to use. This will add an image to the content.
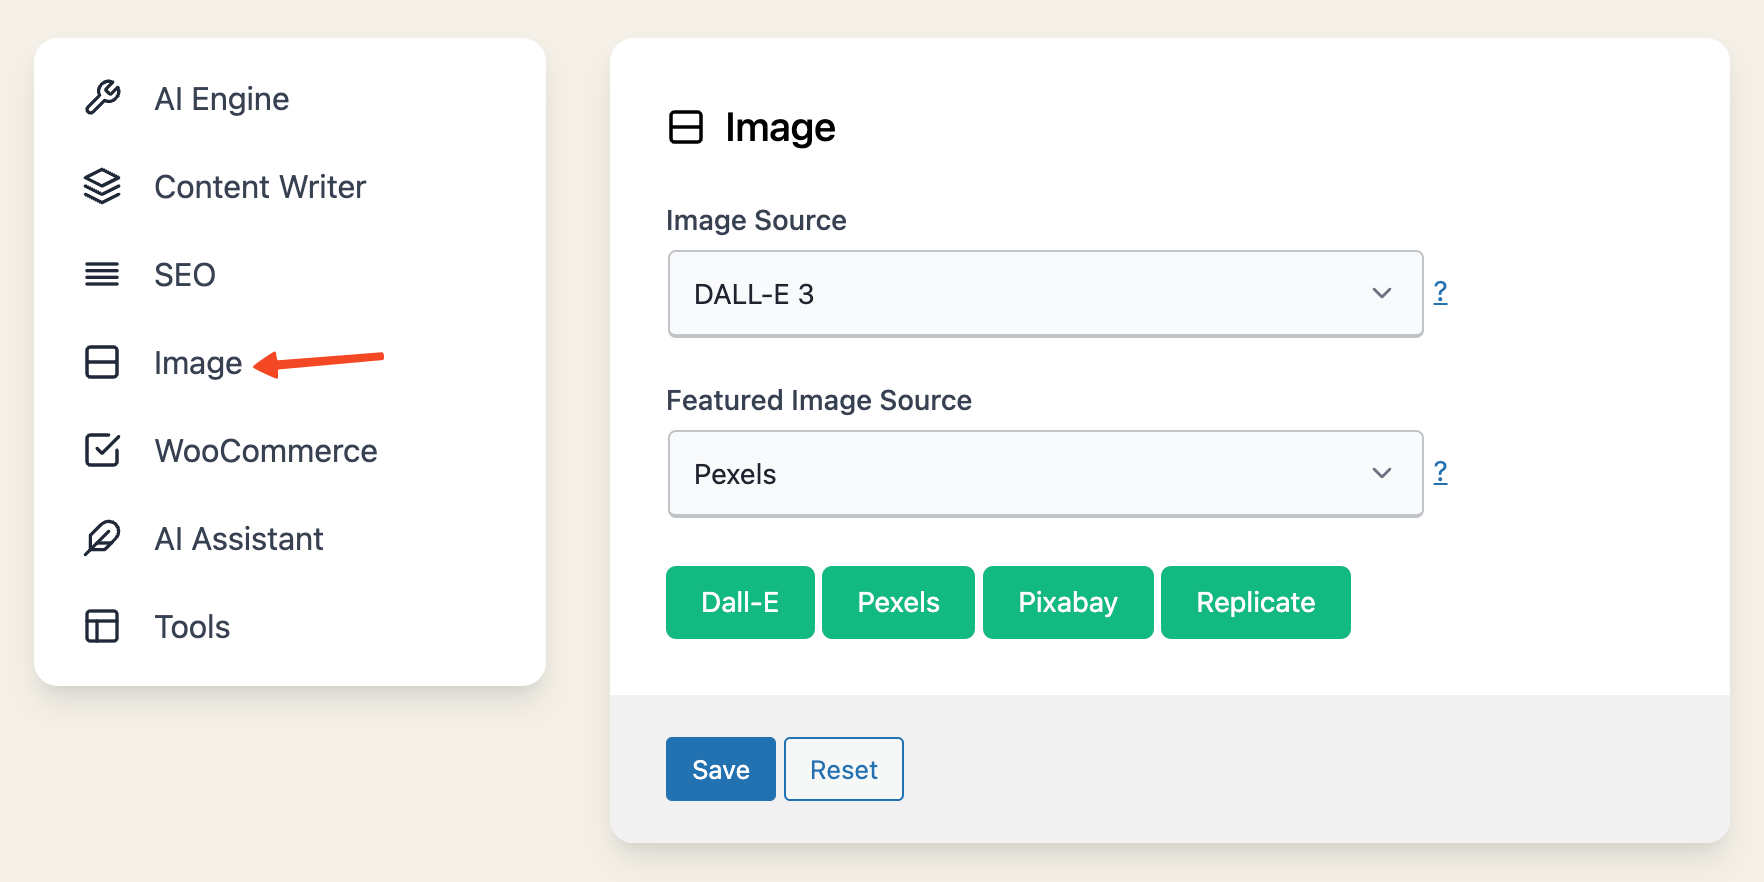
Please note the distinction between the two image sources:
- Image Source: This option determines which platform (DALL-E, Pexels, Pixabay, Replicate or None) will be used to insert images directly into your post. The selected images will be added to your content based on the configured settings.
- Featured Image Source: This option determines the source of the featured image for your post. The featured image typically serves as a visual representation of the post's content and is displayed prominently on your website, such as in the blog index or social media previews.
Understanding the difference between these two settings will help you better manage the visual elements of your content and create a more engaging user experience.
You can select different providers for the Image Source and Featured Image Source options. By doing so, you will have two different images in your post, which can add variety and visual interest. If you choose the same provider for both options, our plugin will retrieve the first result, resulting in both the image in the post and the featured image being the same. To create a more engaging user experience, we recommend selecting different providers for these two options.
Setting Featured Image
You can enable this by selecting the “Featured Image Source” option in the Settings - Image tab.
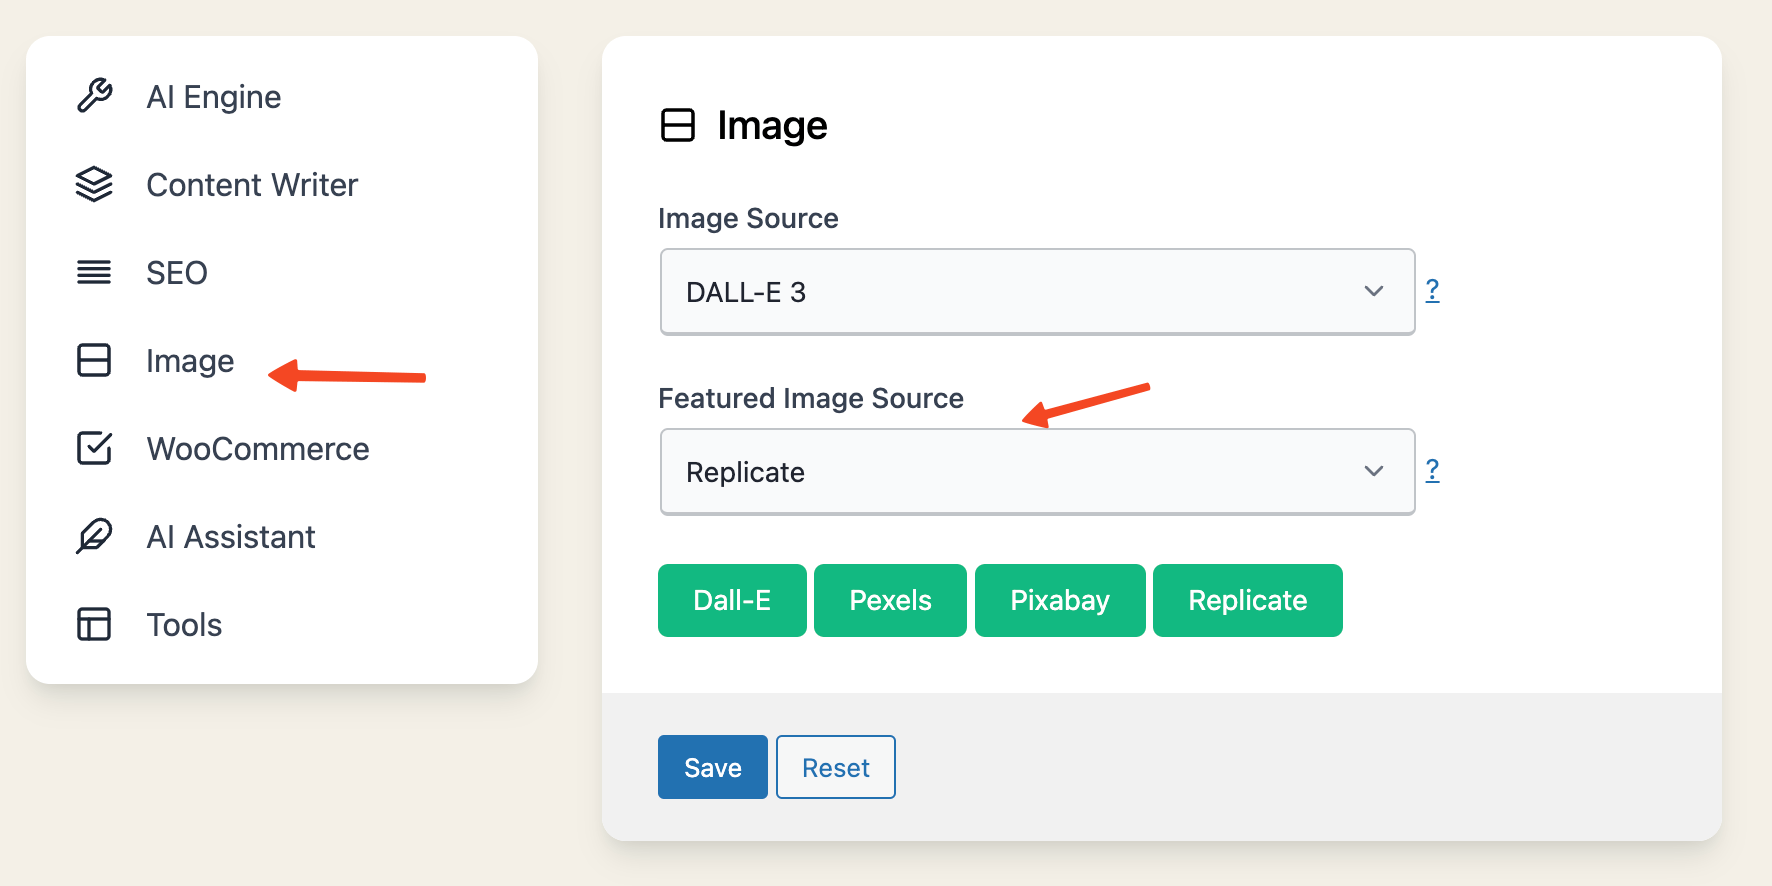
When enabled, the plugin will automatically set the generated image as the featured image for your content.
SEO-Friendly Images
Once our plugin generates an image (whether it is from DALL-E, Pexels, Pixabay or Replicate), it automatically saves the image to your WordPress media library.
To optimize the image for SEO, our plugin ensures that the image's alt text, title, description, and caption are properly set.
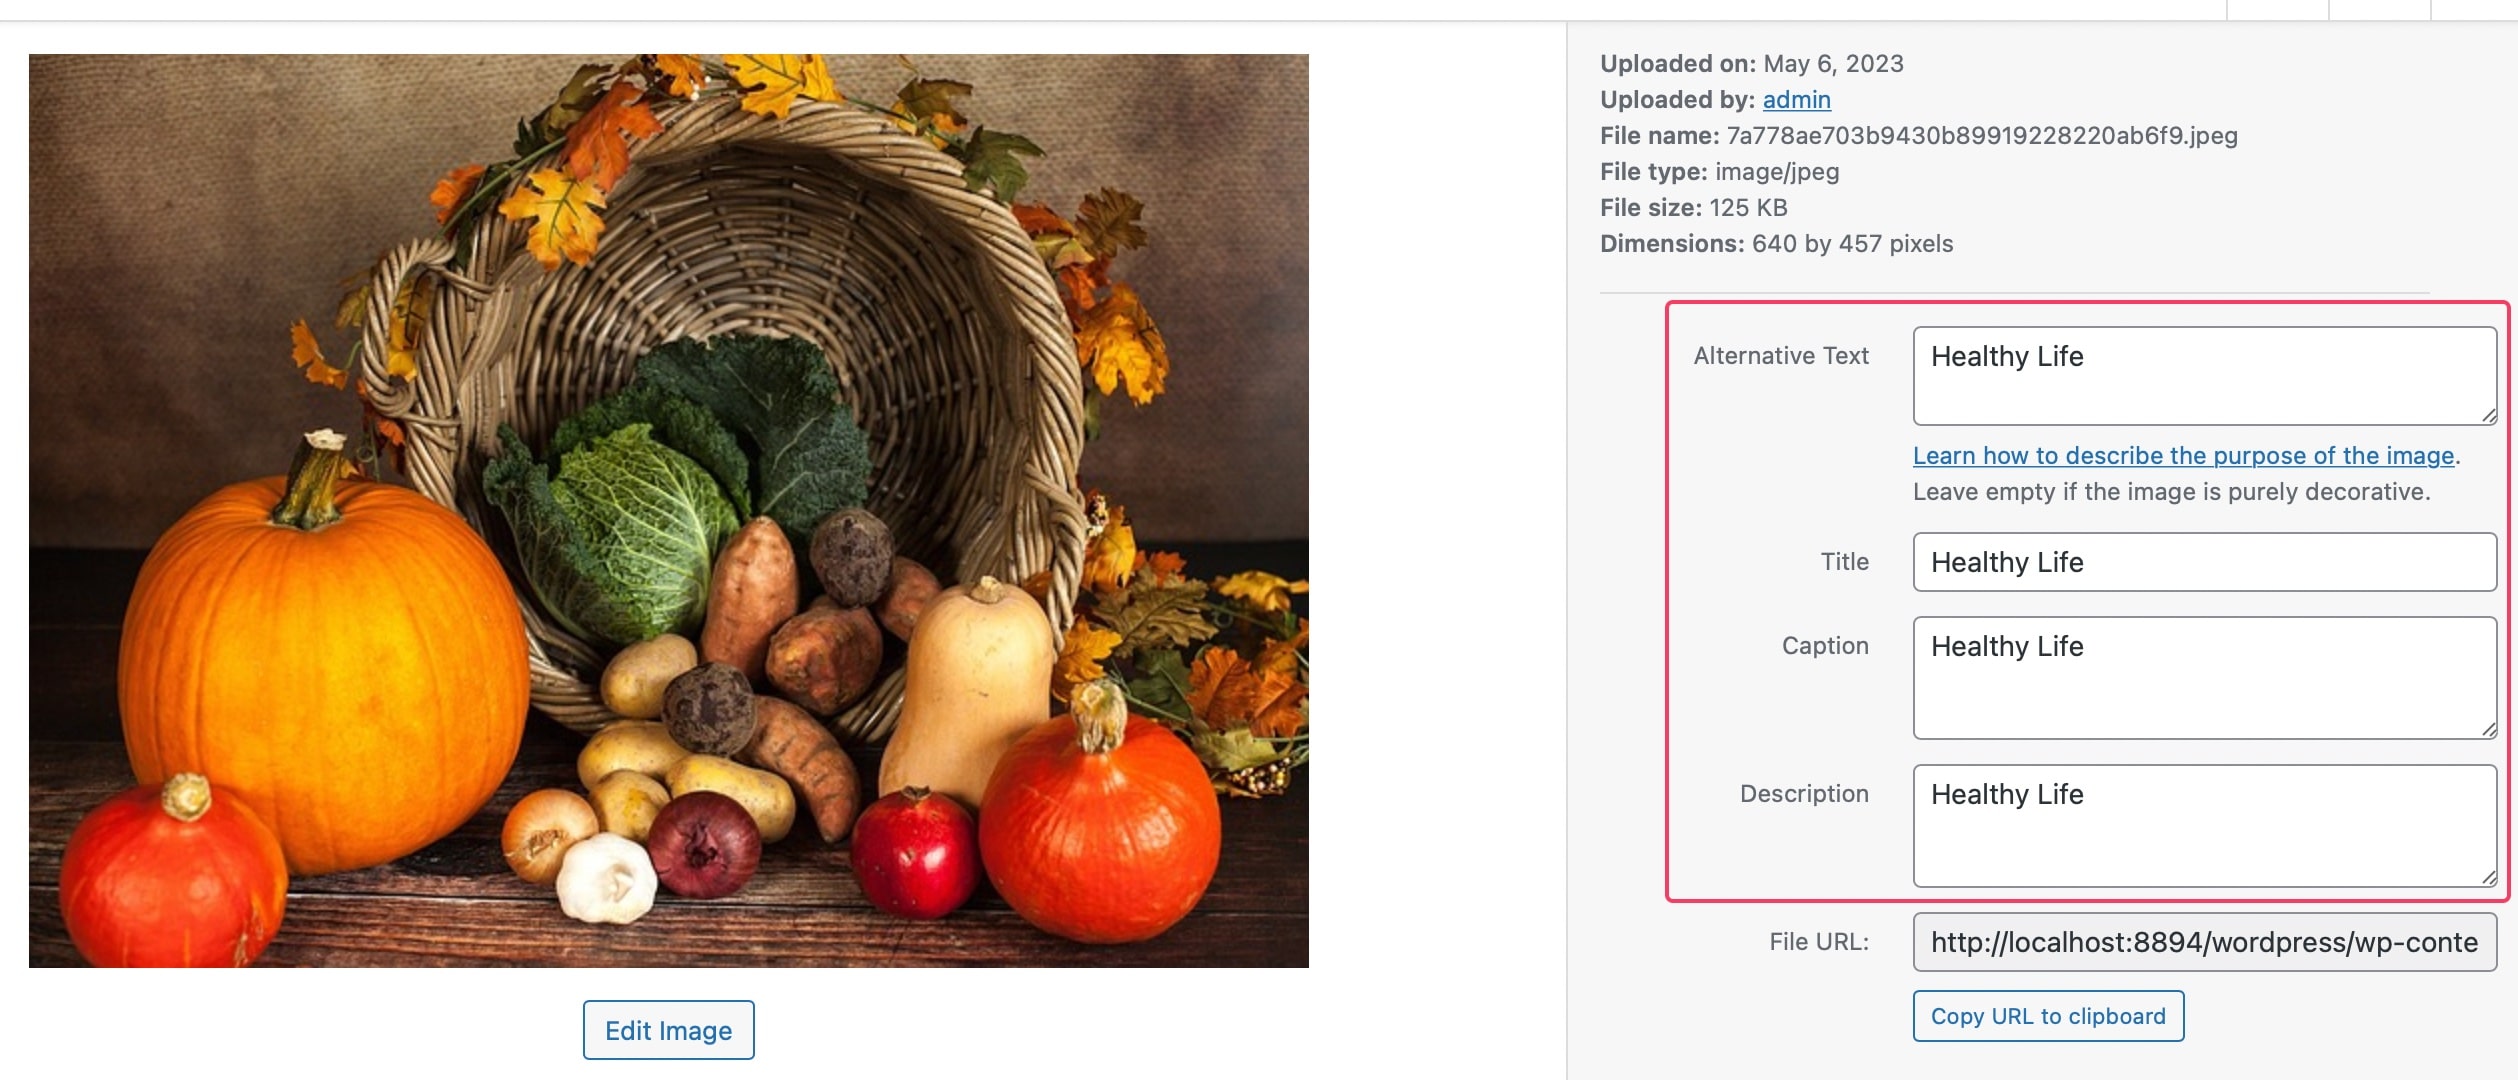
This practice not only enhances the user experience but also improves your website's visibility in search engine results.
DALL-E
Note: Make sure you have already entered your OpenAI API key in the Settings - AI Engine tab API Key field, as the DALL-E image generation works with the API key.
- Go to the Settings - Image tab and select the DALL-E image source.
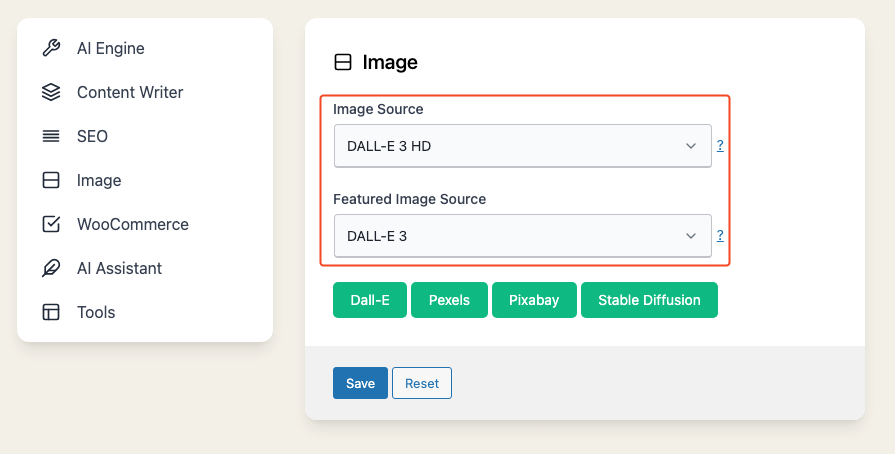
- Now navigate to the Express Mode.
- Enter the title of your content and the number of headings and other details.
- Click the Generate button. The plugin will send a request to the Dall-E model and get an image based on your title. This process may take a few seconds, depending on the complexity of the prompt.
- Review the generated image and decide whether to use it or not.
The image will be automatically added to your content. You can resize or reposition it as needed using the image editing tools in the WordPress editor.
Note that not all requests made to OpenAI will result in an image being returned.
OpenAI filters both prompts and images in accordance with their content policy, and if either is flagged, an error will be returned.
This is the error message that will be displayed if the request is not in compliance with OpenAI's content policy:
"Your request was rejected as a result of our safety system. Your prompt may contain text that is not allowed by our safety system."
If you don't see an image generated in your content, it's possible that the image or prompt doesn't adhere to OpenAI's content policy, and our plugin has skipped it.
Image Size
For DALL-E 2, you can choose from three image sizes:
- Small (256 x 256)
- Medium (512 x 512)
- Large (1024 x 1024)
However, DALL-E 3 introduces additional sizes and the option for HD quality:
- Large (1024 x 1024)
- Wide (1792 x 1024)
- Tall (1024 x 1792)
The HD quality is available when using the DALL-E 3 HD model.
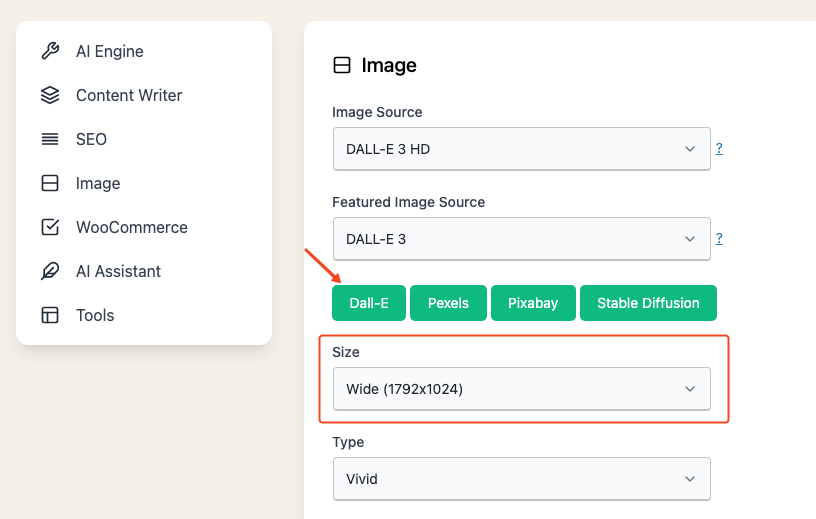
Please note that these size limitations are imposed by DALL-E, not our plugin.
The available image sizes are determined by the DALL-E API service capabilities.
When selecting HD quality with DALL-E 3, please be aware that the generation process will take longer, and the resulting images will have a larger file size compared to standard quality images. This is due to the enhanced detail and higher resolution of HD images. Ensure that you accommodate for the additional time and storage requirements when using this option.
Image Type
The style of the generated images can be vivid or natural.
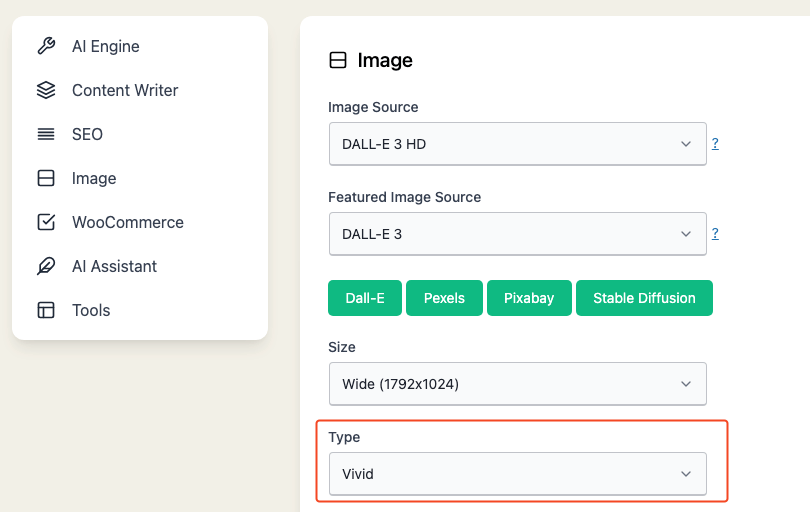
Vivid causes the model to lean towards generating hyper-real and dramatic images. This is a default value if none is defined.
Natural causes the model to produce more natural, less hyper-real looking images.
This parameter is only supported for DALL-E 3 and DALL-E 3 HD.
Image Style
There are several image styles to choose from, which can influence the visual appearance and quality of the generated image:
- None
- Abstract
- Contemporary
- Cubism
- Fantasy
- Graffiti
- Impressionism
- Modern
- Pop Art
- Surrealism
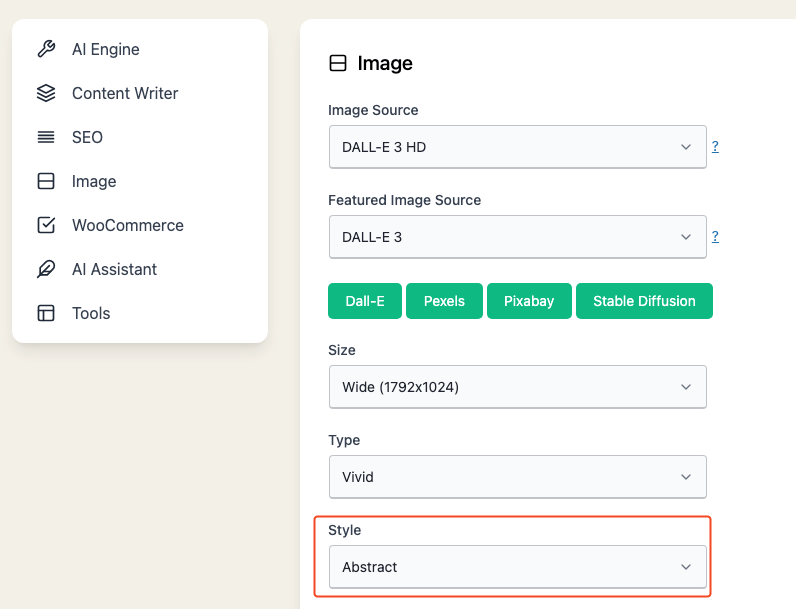
By selecting a specific style, you can tailor the generated image to better match the theme or mood of your content.
Different styles can add unique artistic elements, textures, or color schemes to the image, enhancing its overall appeal and visual impact.
Keep in mind that the chosen style may affect the image quality and details, so it's essential to experiment with various options to find the best match for your needs.
More Settings
With DALL-E, you have the option to further customize your images by adjusting various settings.
To access these additional settings:
- Click the [+ More Settings] link under the Image Style section in the Settings - Image tab.
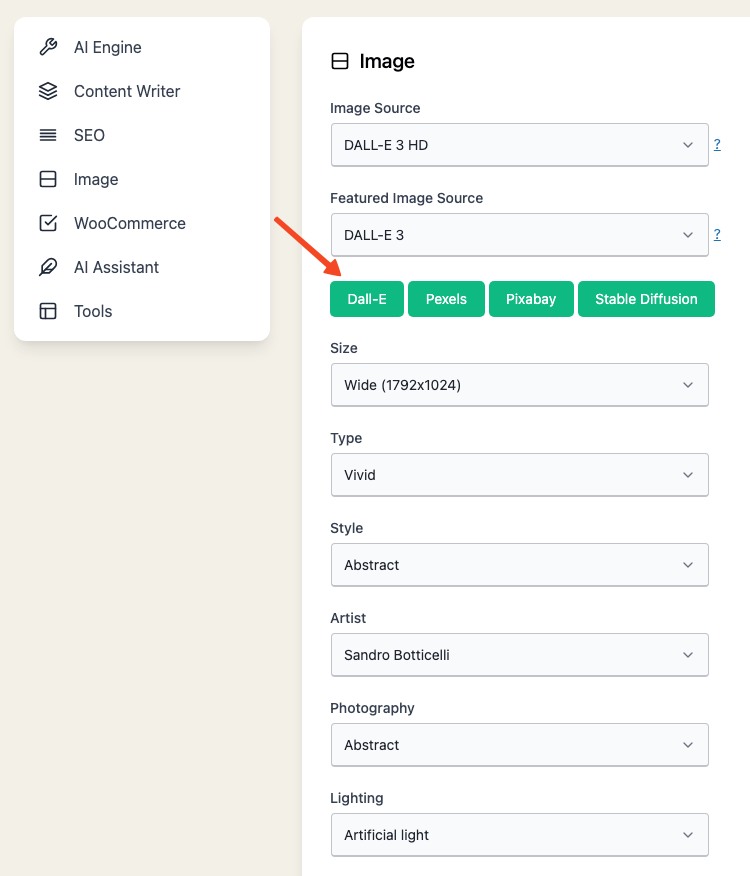
Here, you can choose from a wide range of settings, such as:
- Artist: Select an artist from the drop-down list.
- Photography: Adjust photography settings.
- Lighting: Modify the lighting in the image.
- Subject: Choose the subject of the image.
- Camera: Change camera settings.
- Composition: Adjust the composition of the image.
- Resolution: Choose the resolution of the image.
- Color: Modify the color settings.
- Special Effects: Apply special effects to the image.
To find the best settings for your needs, you can use the Image Generator feature to test different combinations of settings.
Once you have found the optimal settings, return to the Content - Image tab and save the same settings.
These settings will be applied to all your images from now on.
Remember that experimenting with these settings can help you generate images that better suit your content and improve the overall visual appeal of your website.
Pixabay
you can enhance your articles with high-quality images from Pixabay, a leading platform for sharing beautiful, royalty-free images, illustrations, and vector graphics.
To start using this feature, follow these simple steps:
- Obtain a Pixabay API Key: First, you’ll need to sign up for a free Pixabay account (if you don’t already have one) and get your API key. Visit Pixabay’s API documentation for more information on how to get your API key.
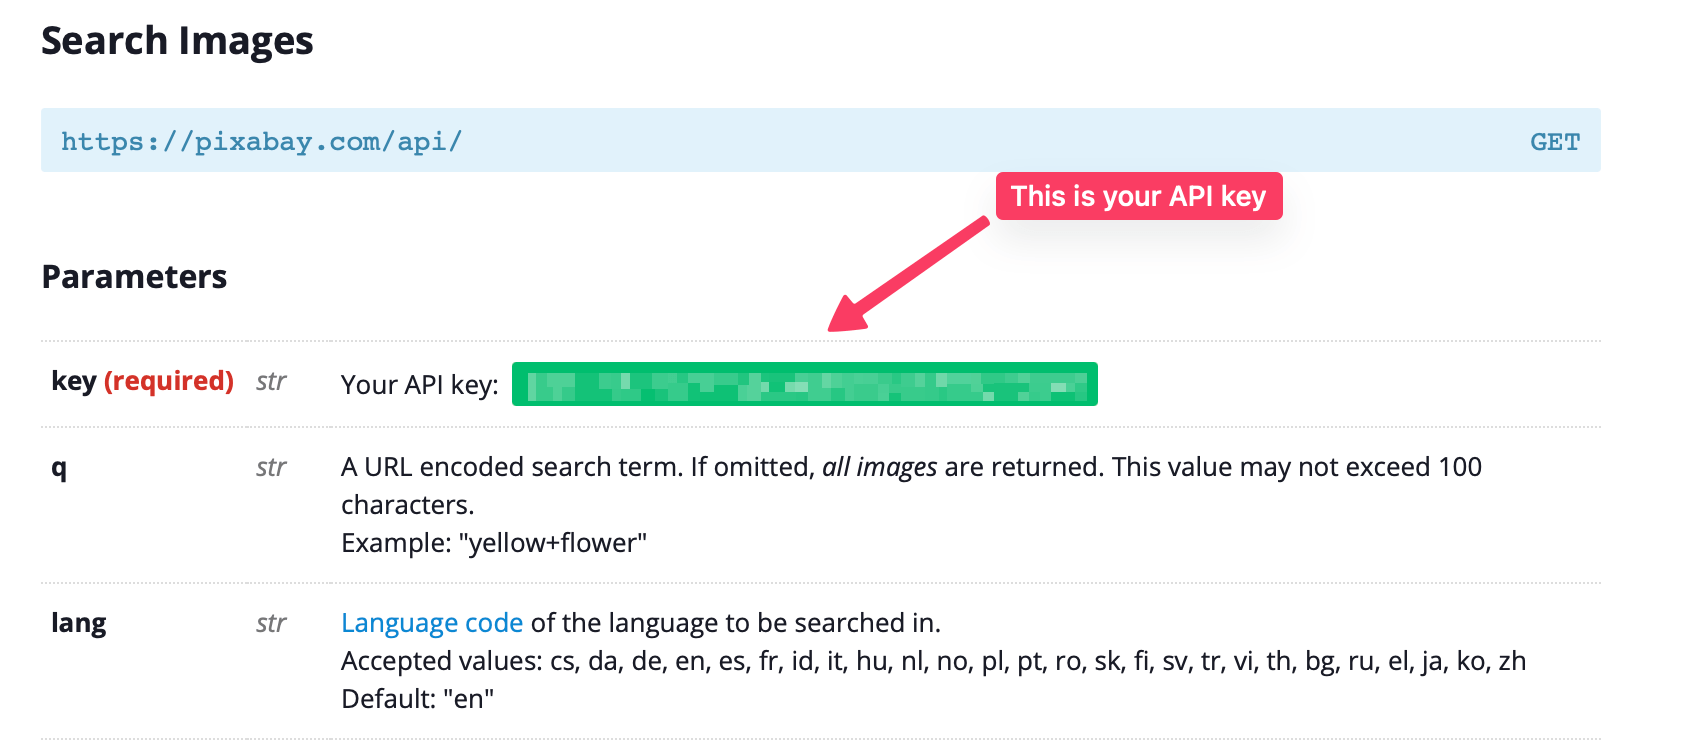
- Go to the Settings - Image tab and make sure to select Pixabay as both the image source and featured image source if you plan to use it for both purposes.
- Paste your API key into the Pixabay API key field.
- Click Save to apply your choice.
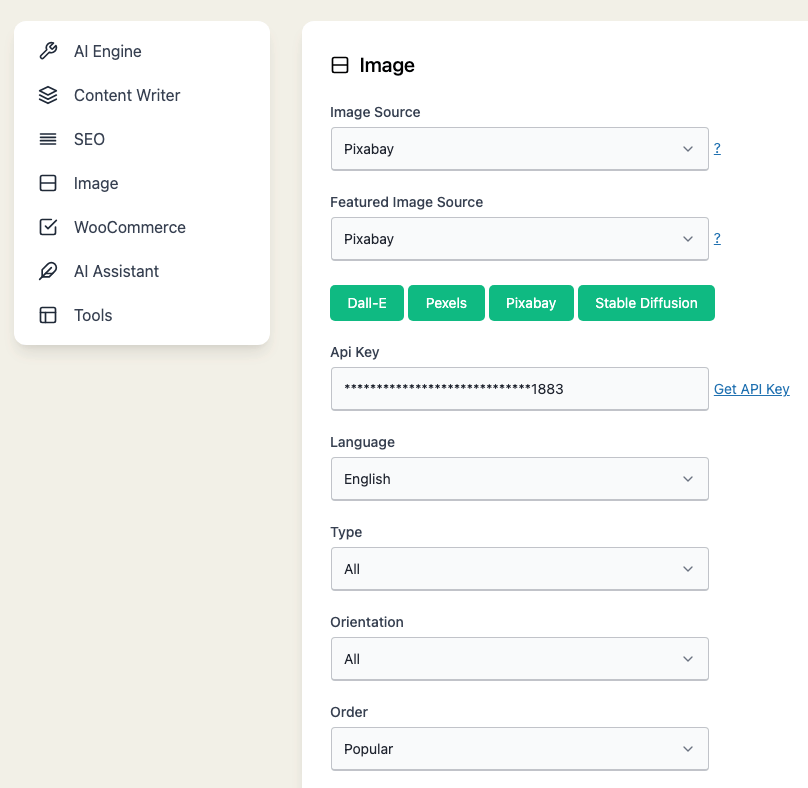
Additional Options
While in the "Image" section, you can further customize your image search with the following options:
- Language: Select the language for your image search (default: English).
- Image Type: Choose the type of images you'd like to search for (default: all). Options include "all," "photo," "illustration," and "vector."
- Order: Set the sorting order for your search results (default: popular). Options include "popular" and "latest."
- Use Keyword [Beta]: We have enhanced the image search functionality for Pixabay by allowing users to search for images using keywords instead of the title. This provides more accurate and relevant image results for your content.
After configuring Pixabay integration, navigate to the Express Mode and generate content as you usually would.
The plugin will automatically search and include relevant images from Pixabay based on your preferences.
Our plugin uses the title as the search term for finding images. For example, if you're generating content with the title "Healthy Life," we'll use this title to search for images on Pixabay and retrieve the first result. If you don't see any images generated, it's likely that no matching image exists on Pixabay for the given title.
Pexels
To begin using this feature, follow these simple steps:
- Obtain a Pexels API Key: First, sign up for a free Pexels account (if you don't already have one) and get your API key.
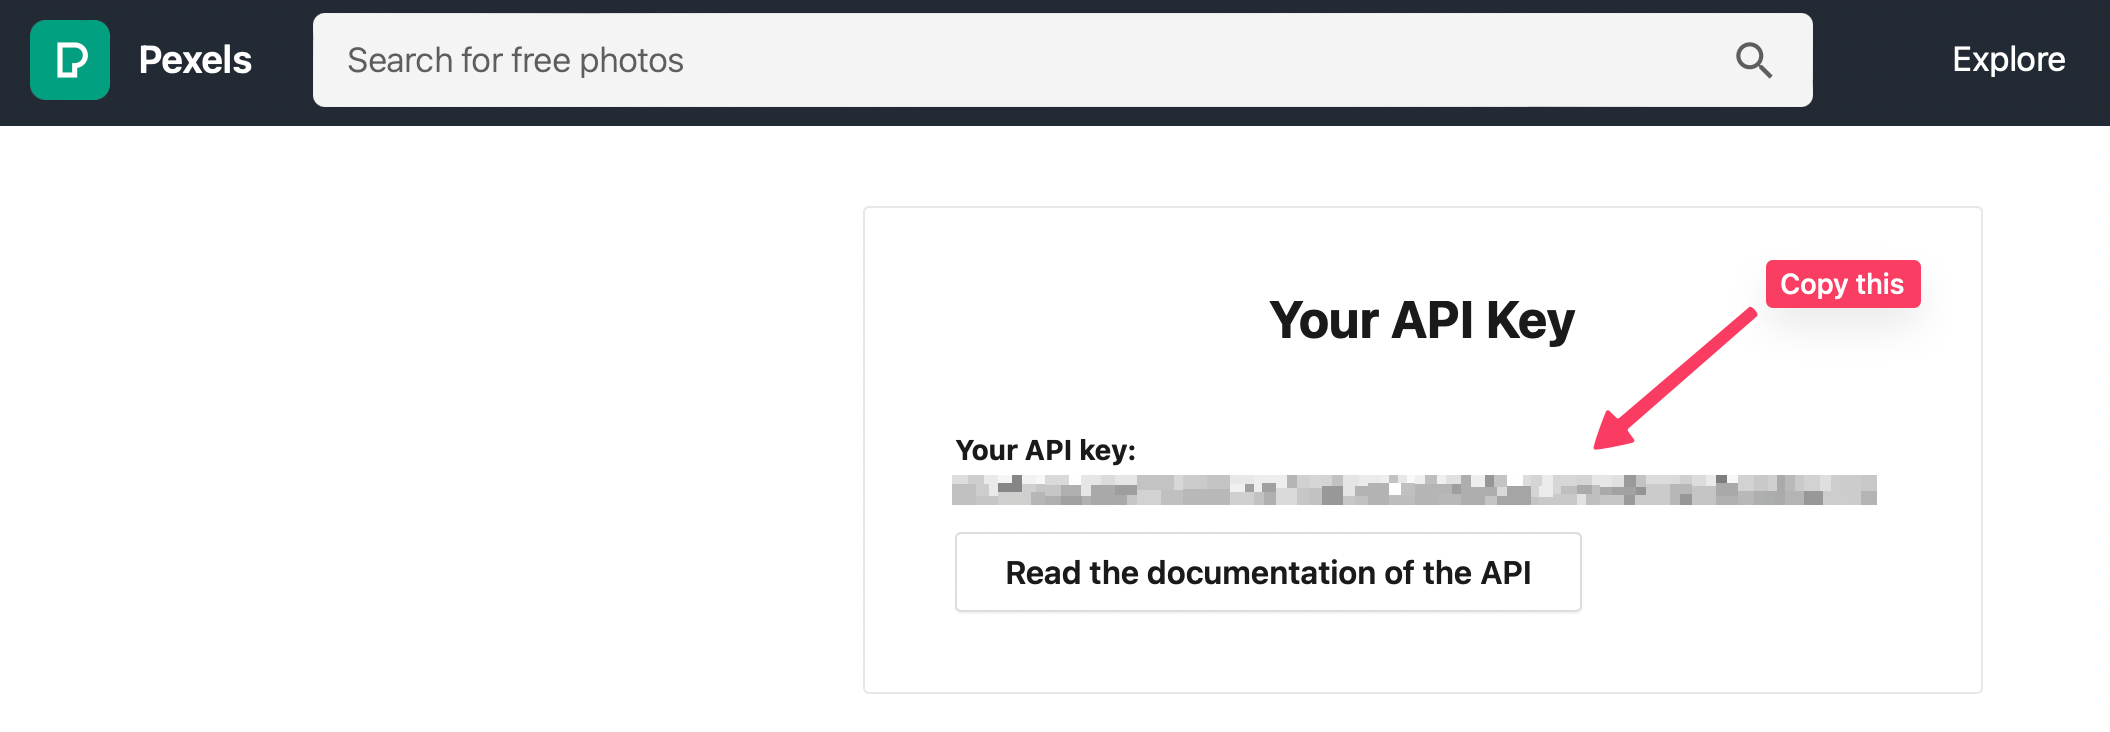
- Go to the Settings - Image tab and ensure to select Pexels as both the image source and featured image source if you intend to use it for both purposes.
- Paste your API key into the Pexels API key field.
- Click Save to apply your choice.
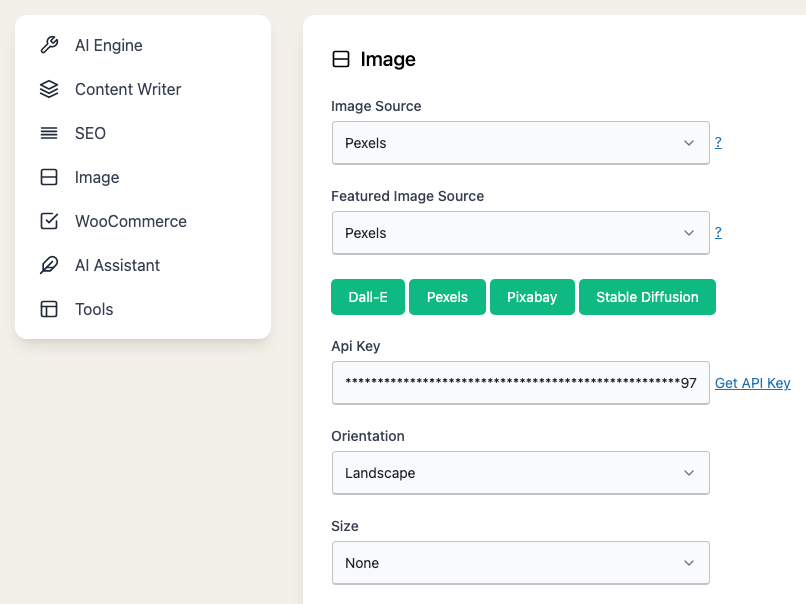
Additional Options
While in the "Image" section, you can further customize your image search with the following options:
- Image Size: Choose from 4 image sizes: None (Original), Large, Medium, Small
- Image Orientation: Select one of the 3 image orientations: Portrait, Landscape, Square
- Use Keyword [Beta]: We have enhanced the image search functionality for Pexels by allowing users to search for images using keywords instead of the title. This provides more accurate and relevant image results for your content.
When using the Use Keyword option, ensure that you set the orientation to None for improved search results.
After configuring Pexels integration, navigate to the Express Mode and generate content as you usually would.
The plugin will automatically search and include relevant images from Pexels based on your preferences.
If you encounter issues with saving images, try adjusting the wp-config.php file by adding the following line of code:
define('ALLOW_UNFILTERED_UPLOADS', true);
This will enable unfiltered uploads, allowing you to save files without any restrictions.
Replicate
Replicate allows to acces various text to image models including Flux, Stable Diffusion, SDXL, Kandinsky, and more.
To use models from Replicate:
- Obtain an API Key:
- Go to replicate.com and log in with your GitHub account. (Please note that Replicate only supports GitHub account login, so make sure to create a GitHub account first if you don't have one.)
- Once you're logged into Replicate, navigate to API Tokens. Here, you'll find your API key.
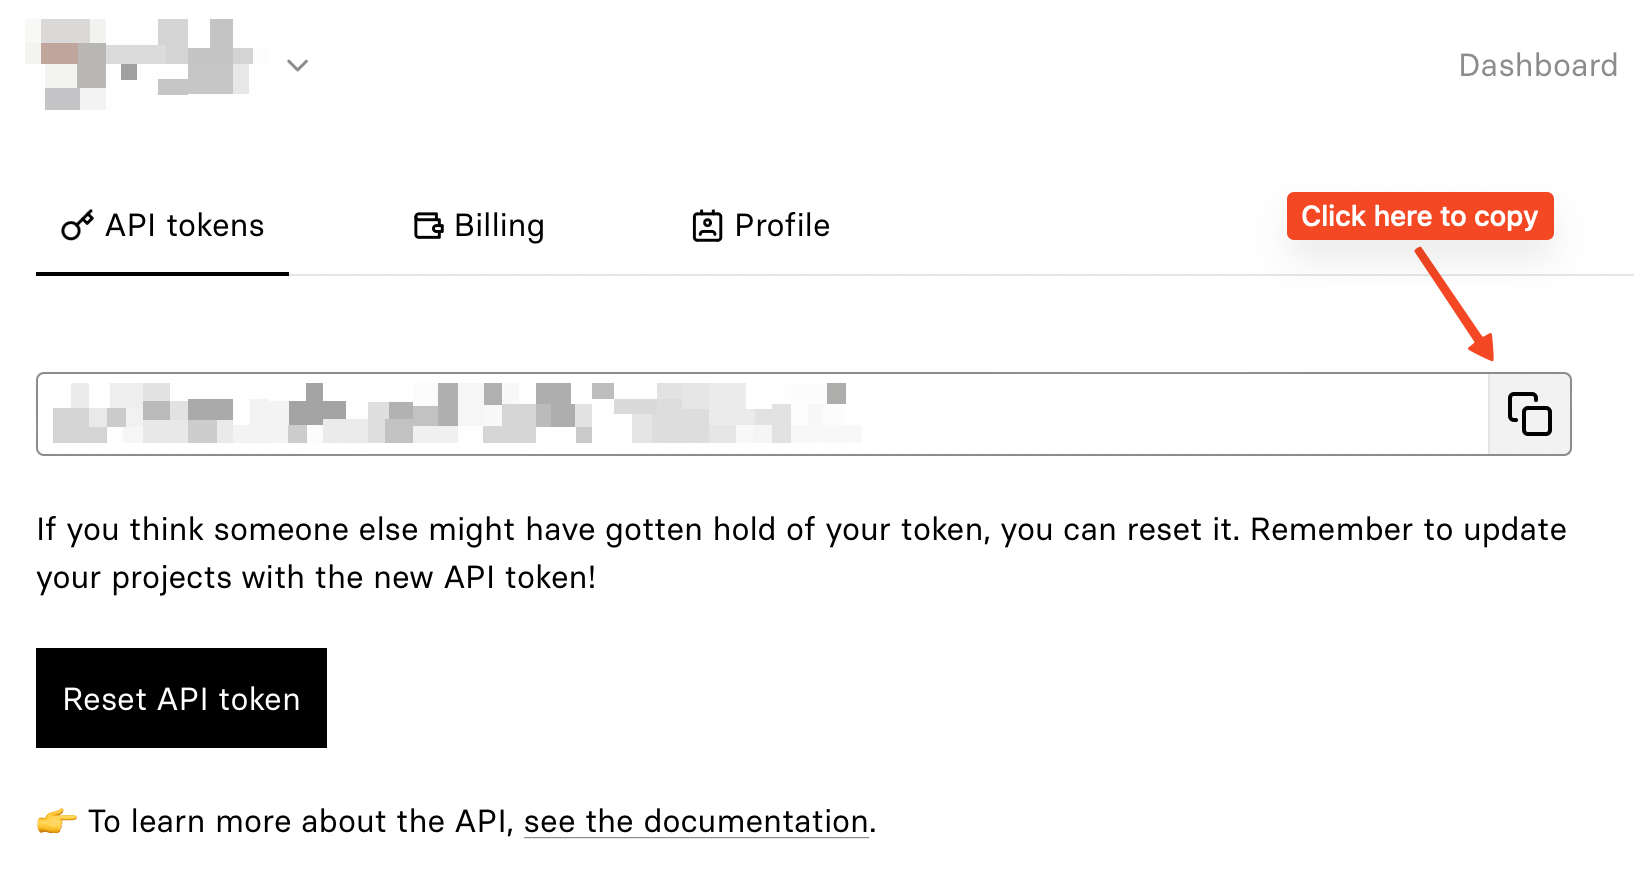
- Copy this key, then return to our plugin.
- Go to the Settings - Image tab, and find the Replicate section.
- Paste your API key into the appropriate field and hit the Save button.
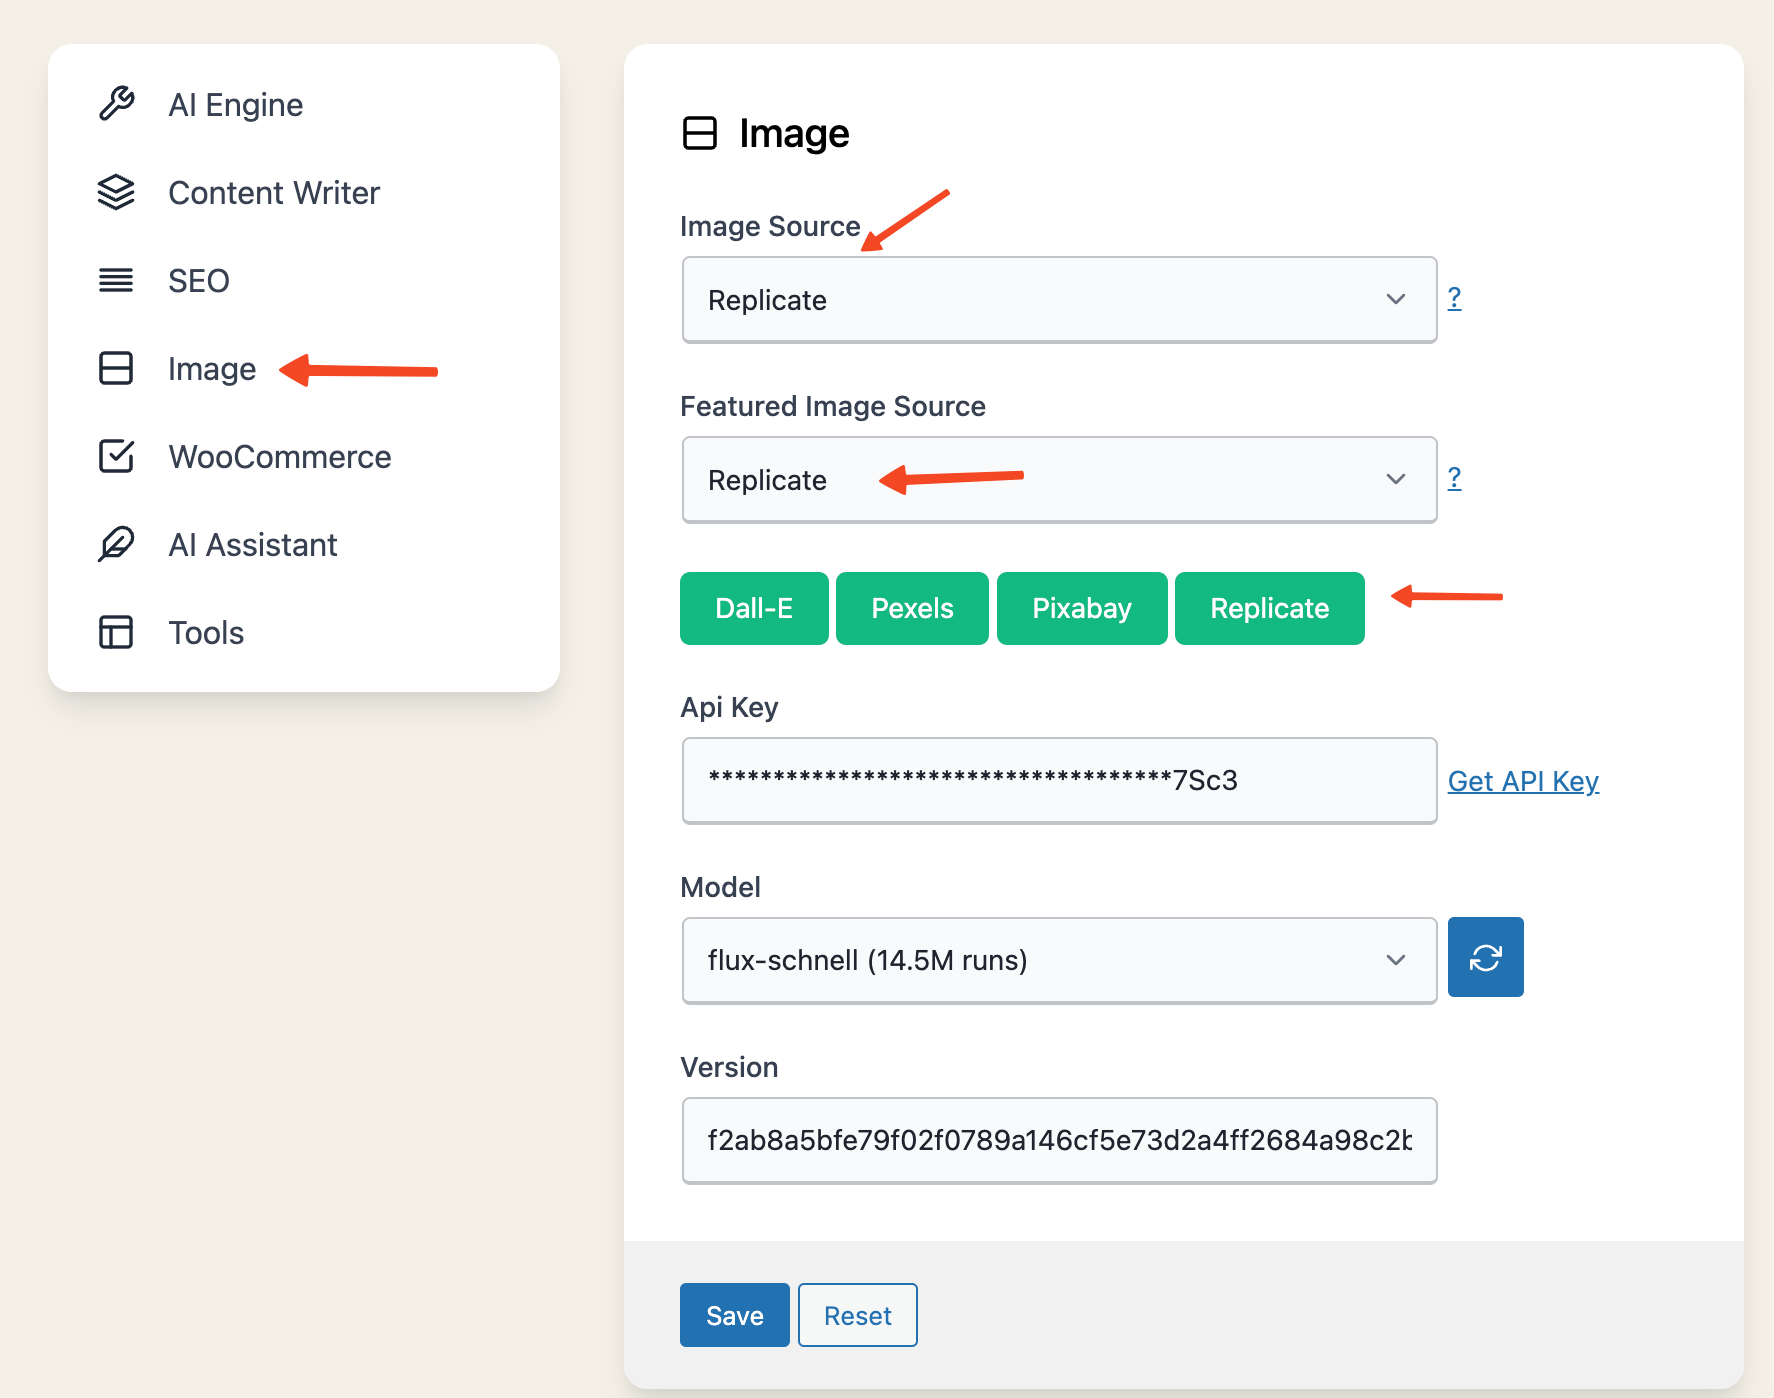
-
Retrieve Models:
- After saving your API key, click the Retrieve button next to the Models dropdown. This will fetch the latest text-to-image models from Replicate.
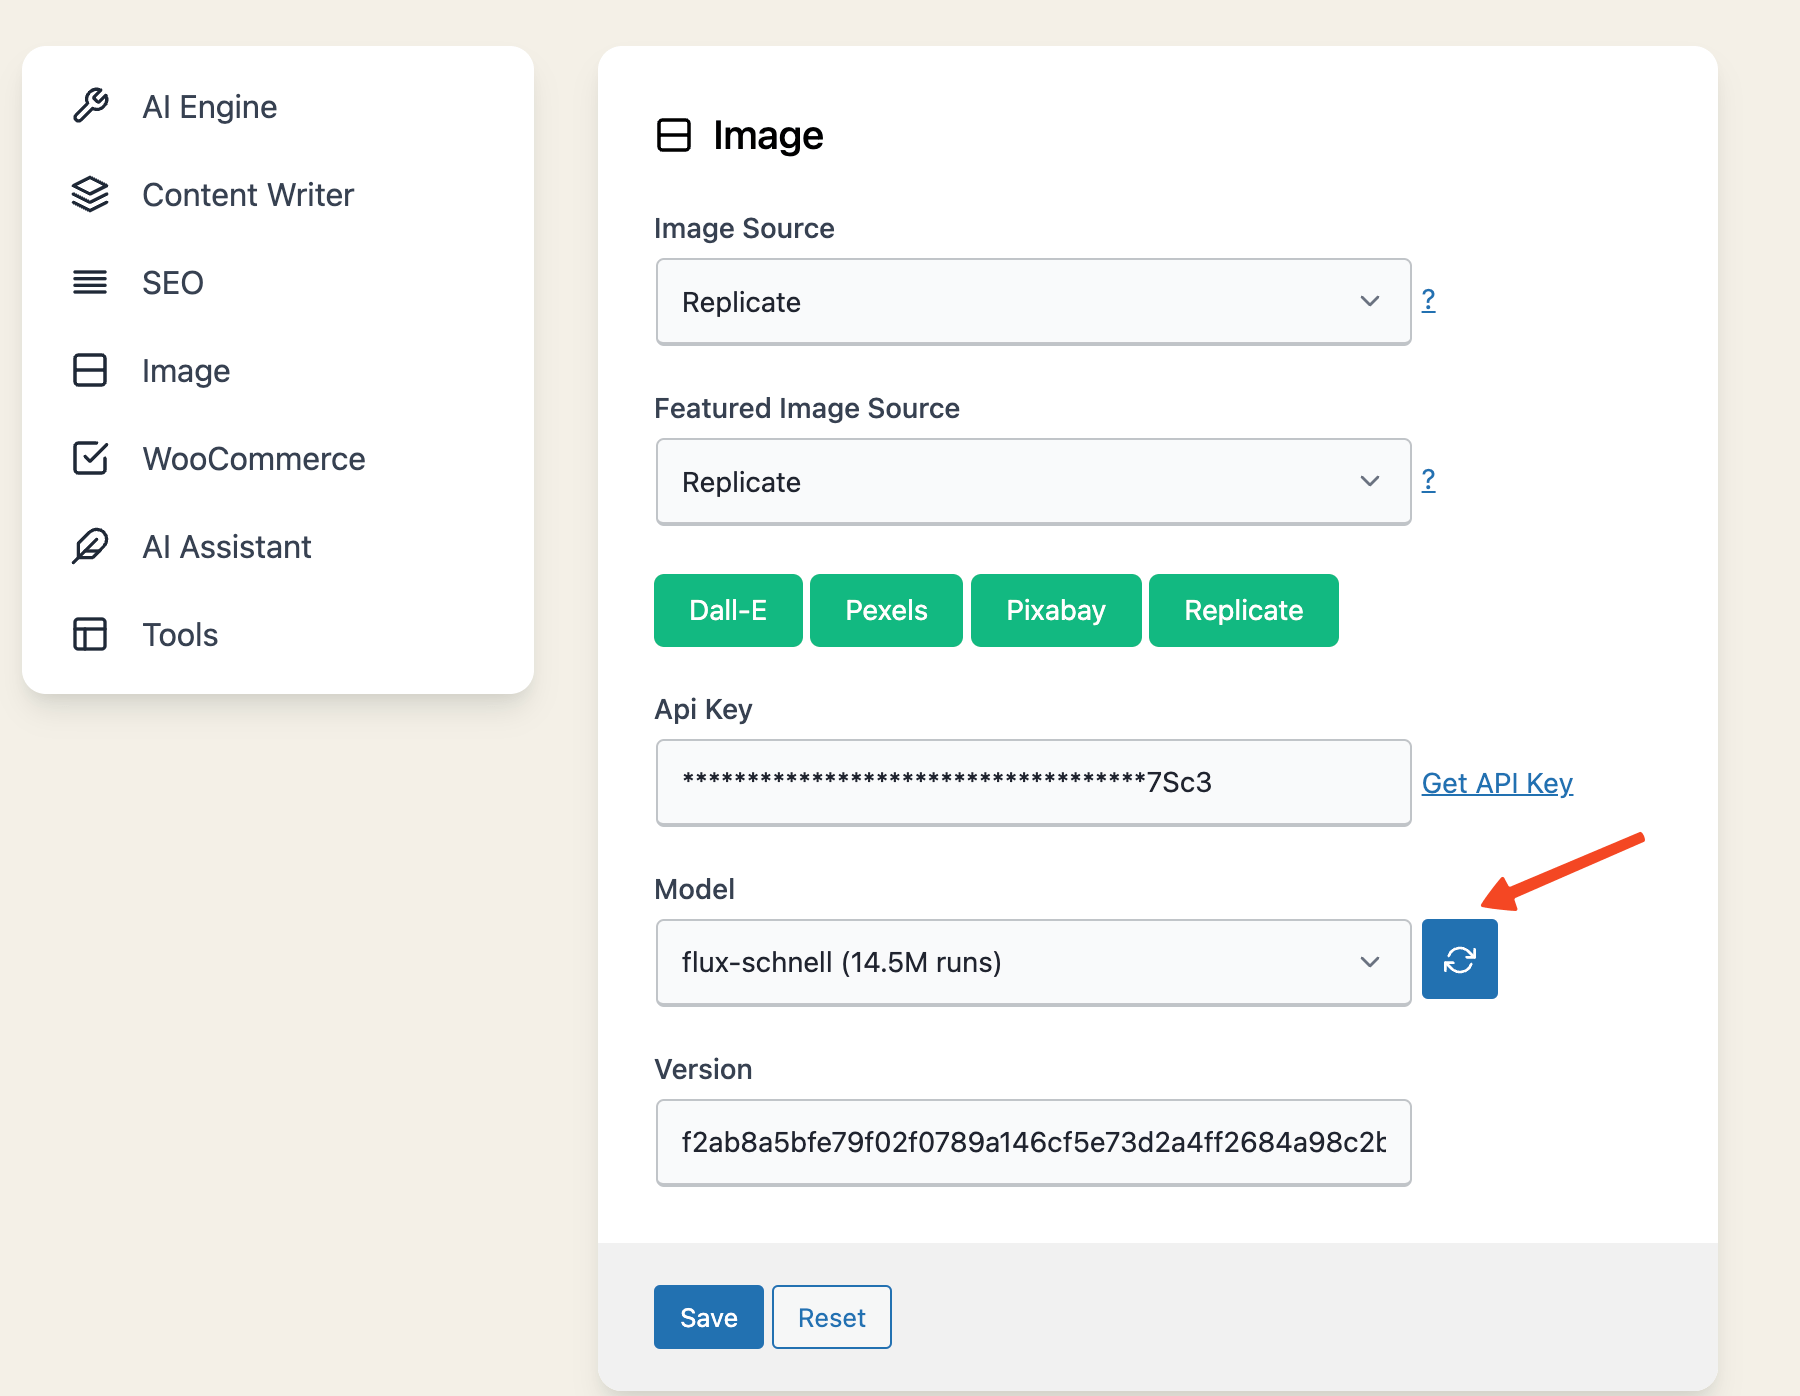
- Once all models are retrieved, you can select any model from the list.
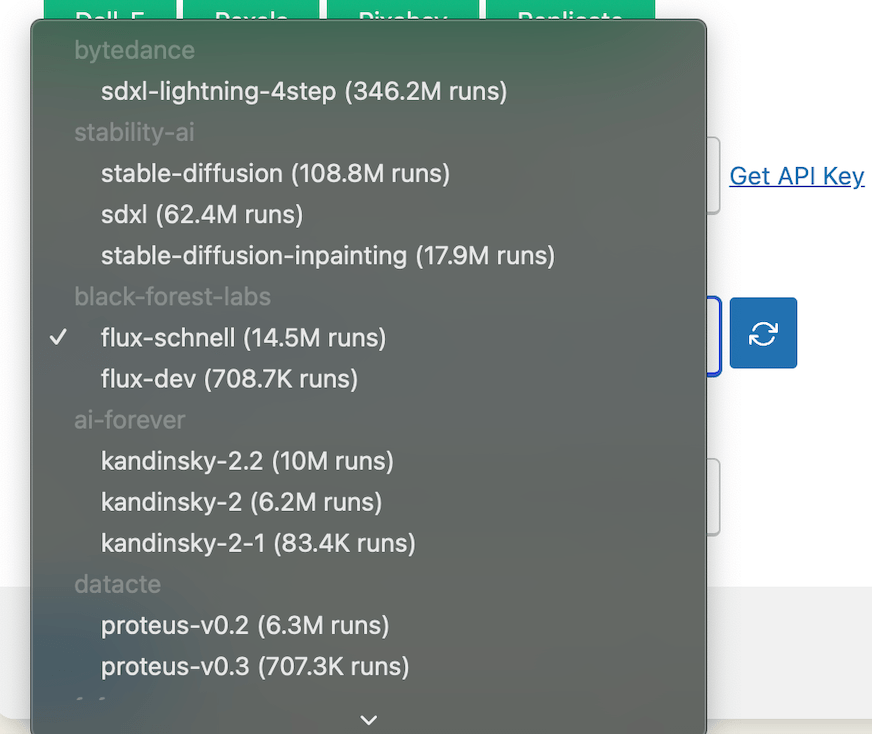
- Please note that models on Replicate might have different versions. Our plugin automatically retrieves the latest version and appends it to the version text field under the model dropdown. If you wish to use a different (earlier) version of a model, you can manually enter it in the version text field.
Our plugin takes all settings for the Replicate prompt from the Image Generator - Replicate tab.
You can experiment with different styling options there and set them as default. These settings will then be used in your image generation.
Now, everything is set up, and you can start generating content using these image models.
Comparing Image Providers
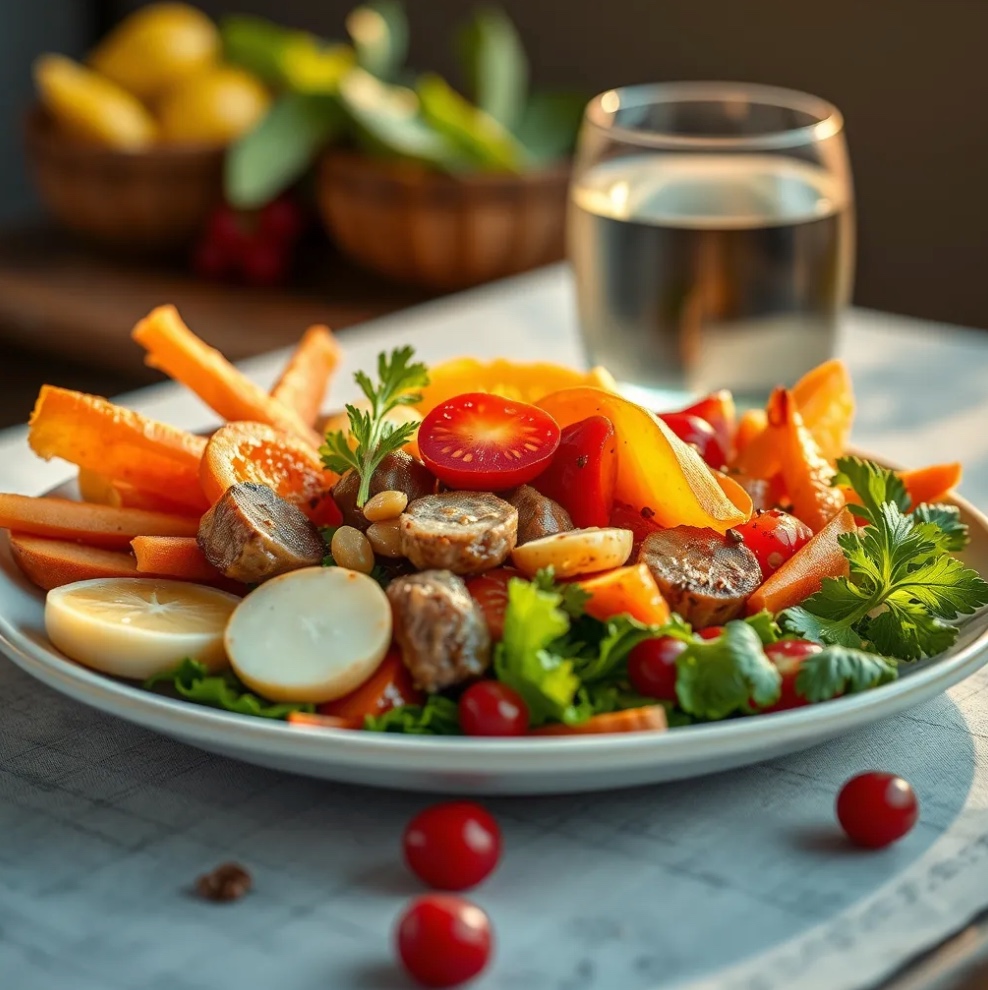
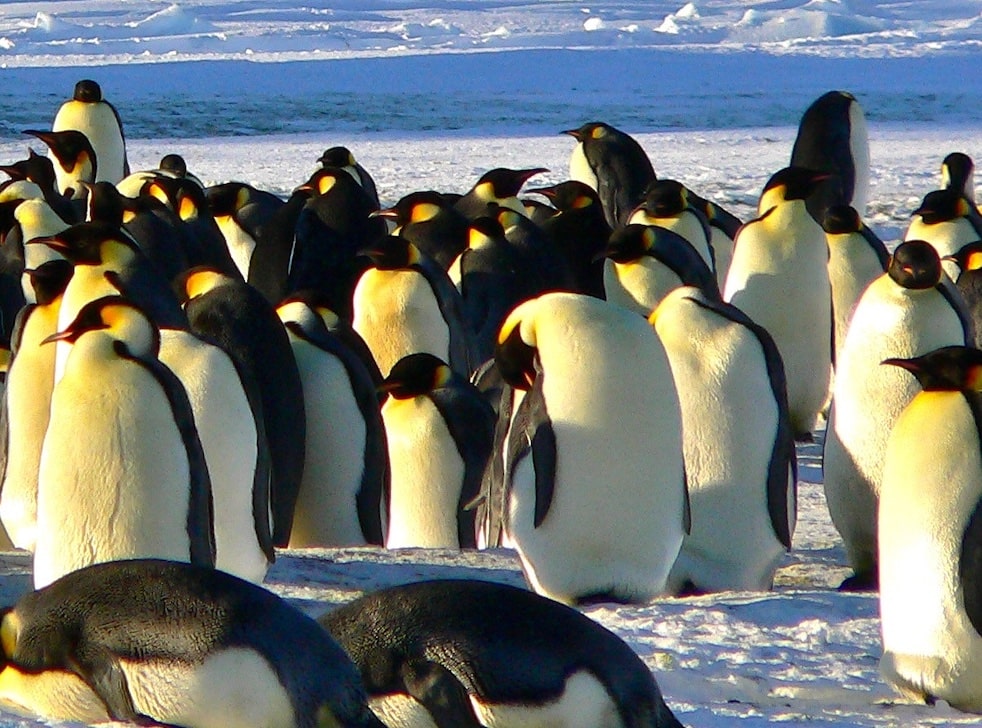
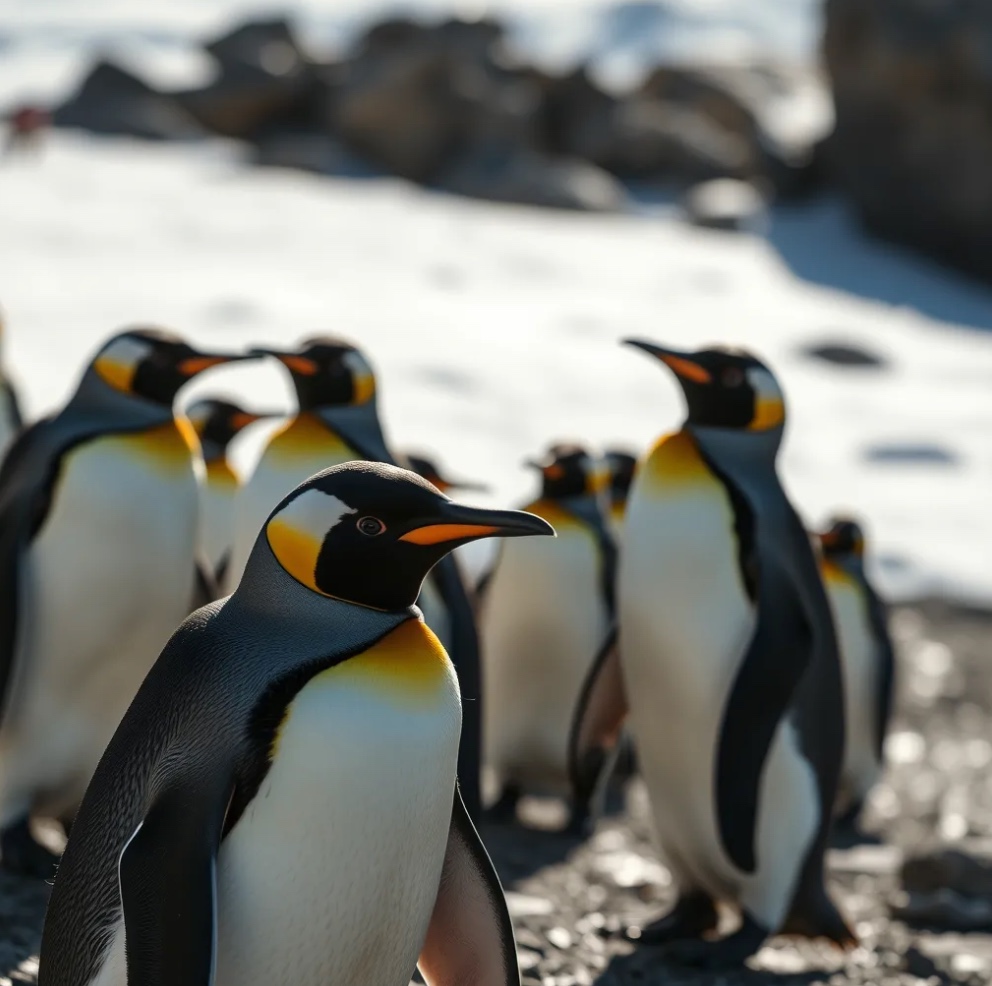
In this section, we'll showcase and compare images generated by three different providers: DALL-E, Pixabay, Pexels and Replicate (Flux).
By examining their unique features and image styles, you can better understand the visual impact each provider brings to your content and make an informed decision on which one suits your needs best.
Red Flowers
| DALL-E | Pixabay | Pexels | Replicate |
|---|---|---|---|
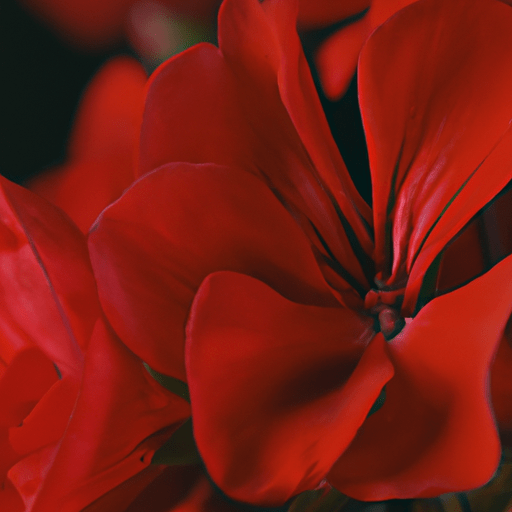 | 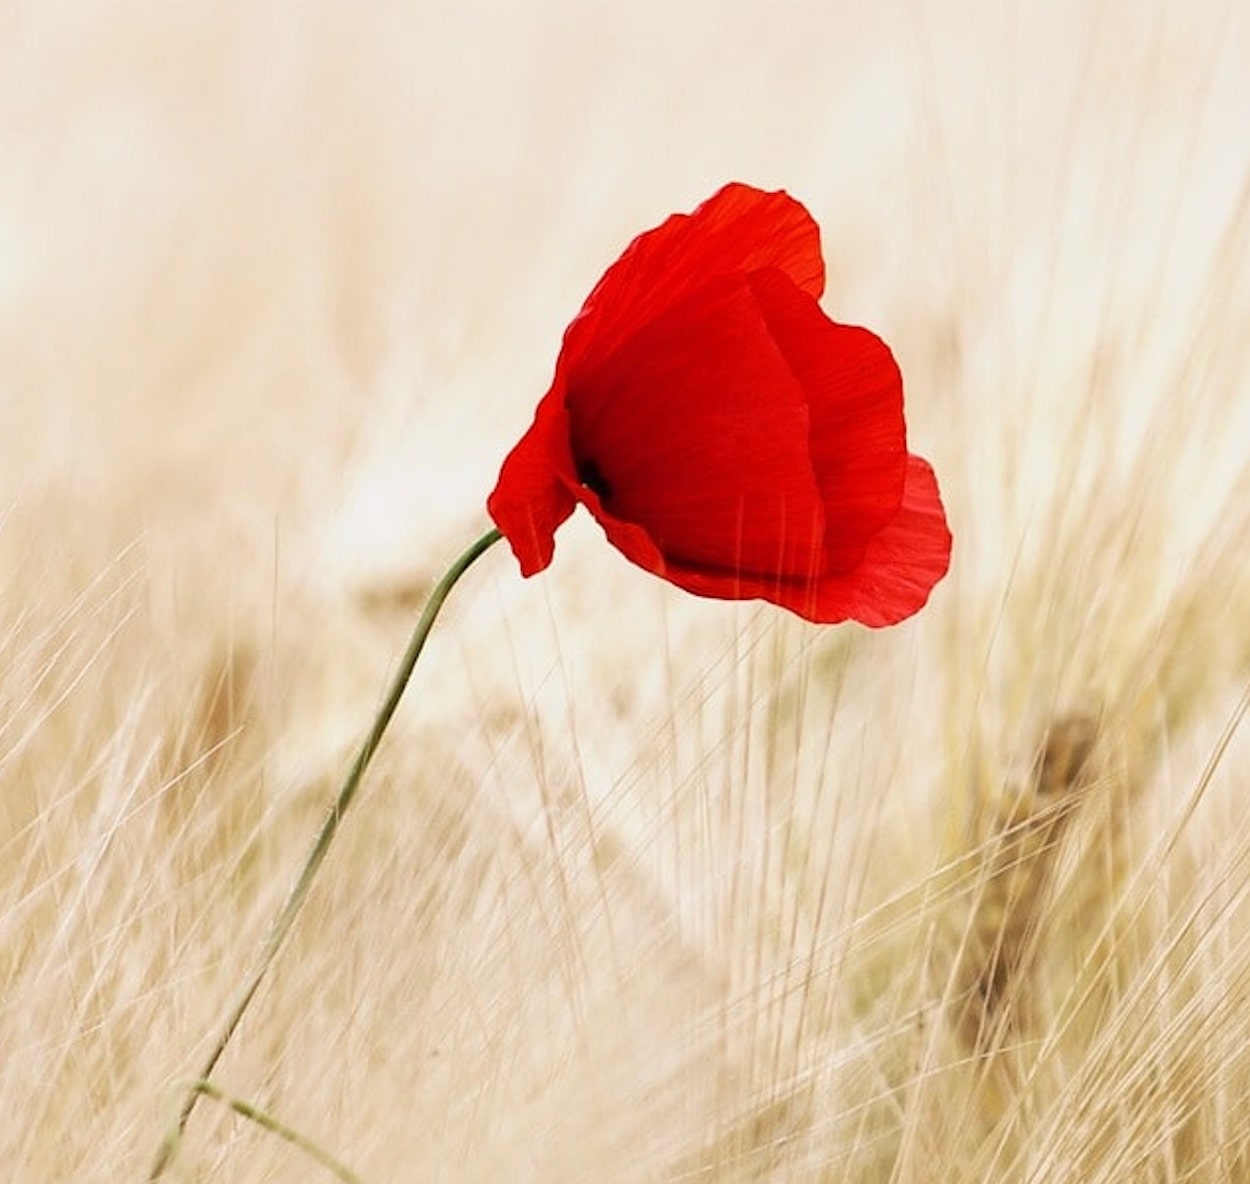 |  | 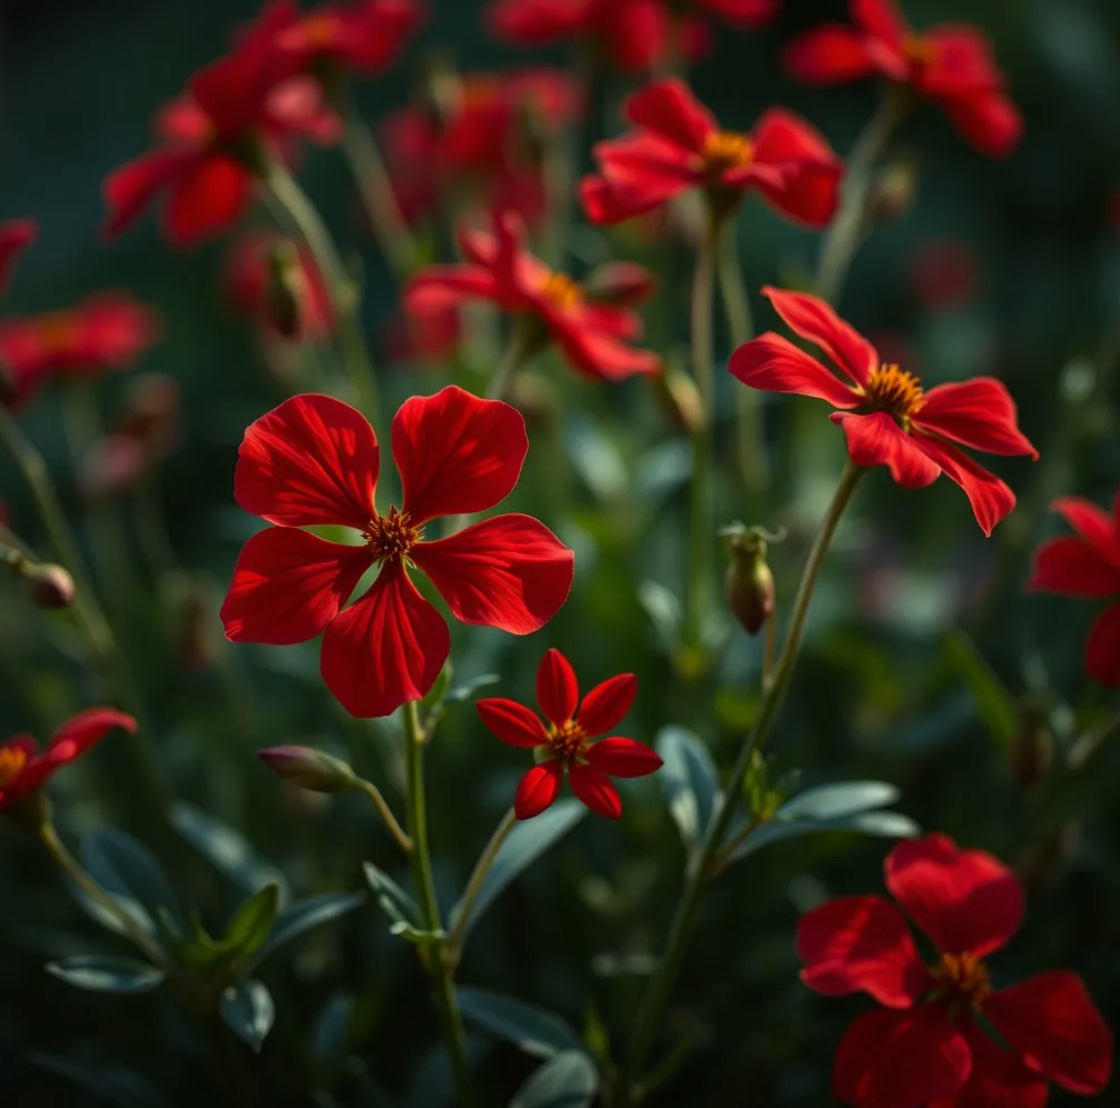 |
Healthy Diet
| DALL-E | Pixabay | Pexels | Replicate |
|---|---|---|---|
 | 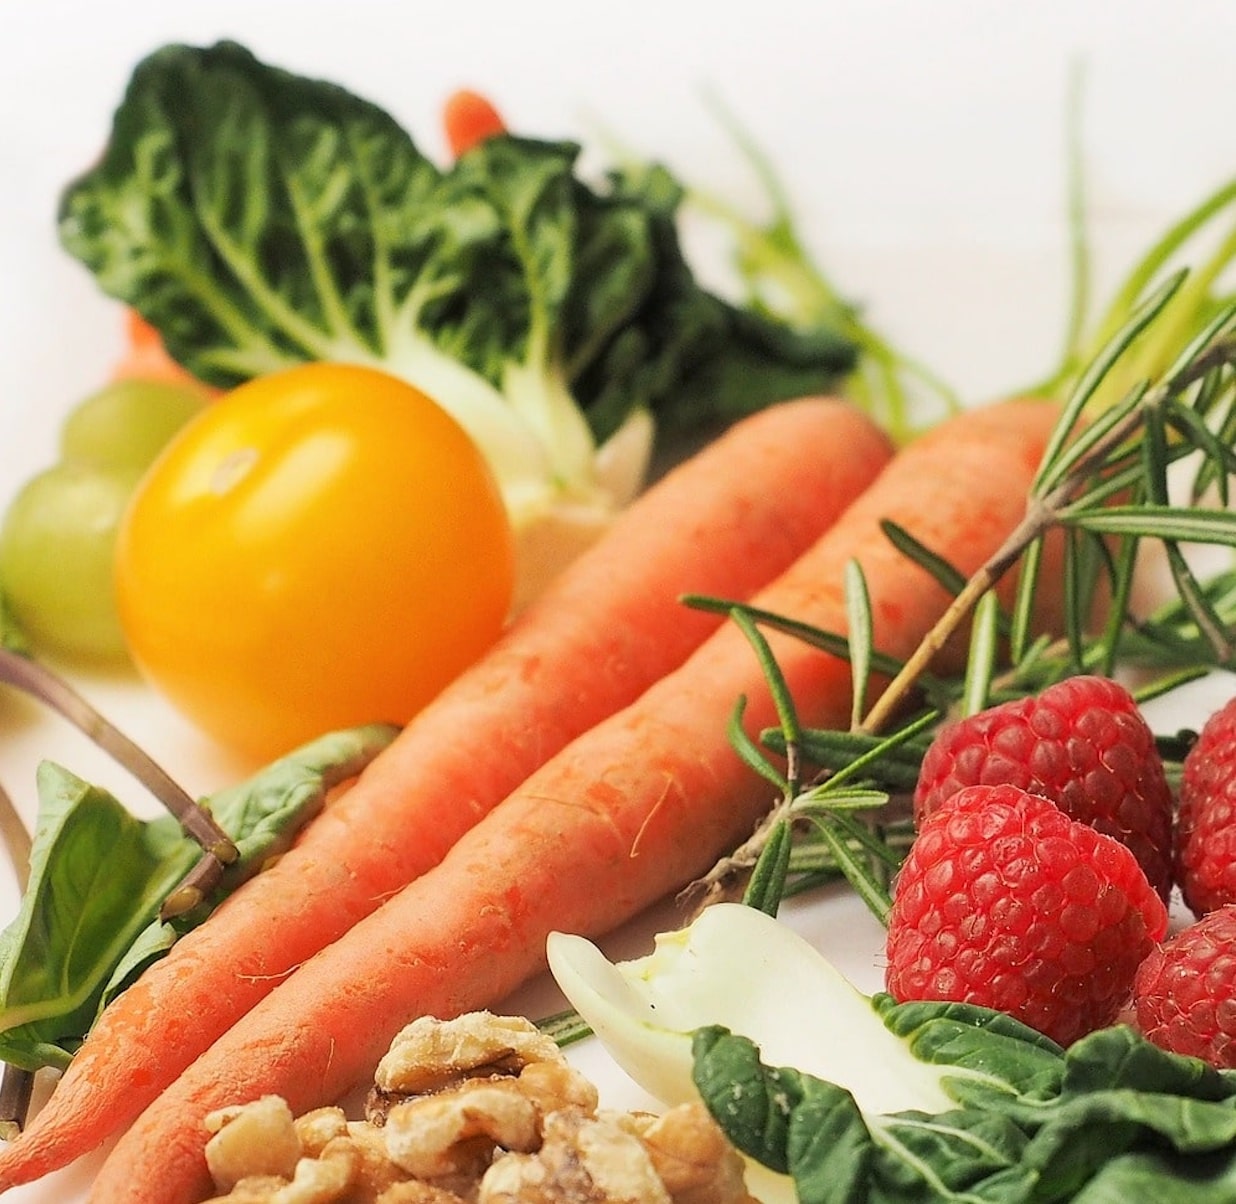 |  |  |
Penguins
| DALL-E | Pixabay | Pexels | Replicate |
|---|---|---|---|
 |  |  |  |